When A Quick Review Turns Into Something Grand

Yesterday I gave the students a piece of paper that was divided into 10 areas.  In each space I had written one of the following bases:

<trope>
<mese>
<bi>
<ge>
<lith>
<strat>
<therm>
<hydr>
<cosm>
<atm>

I had them start in the top left space.  I told them they had 60 seconds to:

  1.  Write the base as a compound word with <sphere> as its second base.
  2.   Quickly draw something that came to mind when thinking of the base’s denotation.
  3.   Write at least one other word that shared the base.

They panicked about the 60 seconds at first, but when the 60 seconds were over, they realized it was plenty of time to do what was asked.  I chose 60 seconds so that they would draw the first thing that popped into their head.  I did not want them to think too hard about the perfect thing to draw.  I had them draw because many students will be able to remember the image of the denotation more quickly than the denotation by itself.

img146 img148


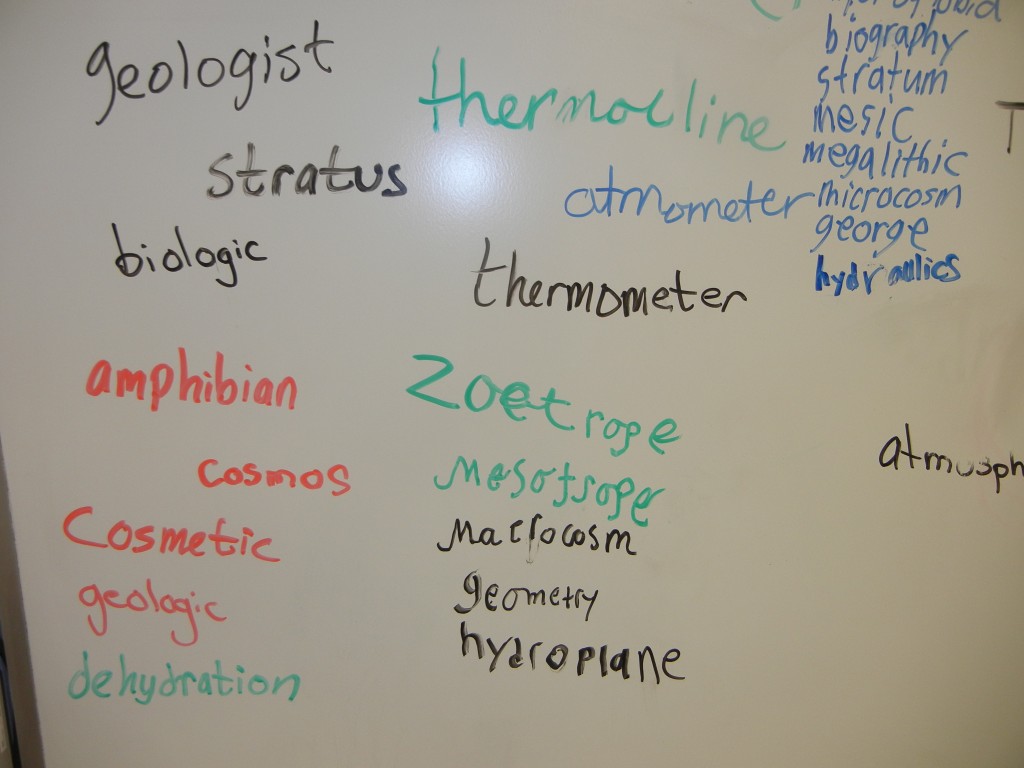
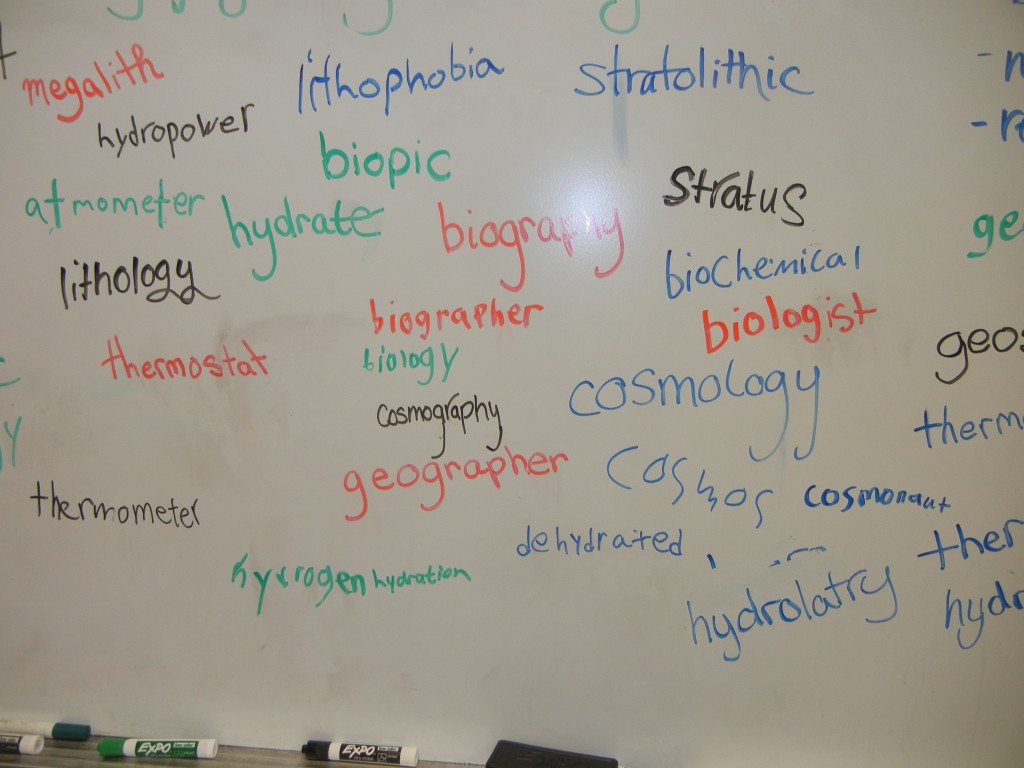
After we finished the tenth base, it was time to review and share.  Volunteers read aloud each compound word, pausing slightly between morphemes. It was so obvious that they understood that all of these words shared a structure.  Students who would have balked at spelling these words several weeks ago, now confidently spelled them.  Their understanding of morphemes and the meanings they contribute to a finished word has been growing!

When I asked for the words they thought of that shared the first base, things got interesting!  The white board quickly filled up.  I had to start making a list of words that I wasn’t familiar with.  “After all,” I said to my students, “just because I haven’t heard the word doesn’t mean it isn’t in use somewhere!”  The thing is, all of the words they suggested looked and sounded convincing.  In other words, structurally they all worked!

dscn6949 dscn6947 dscn6945 dscn6942

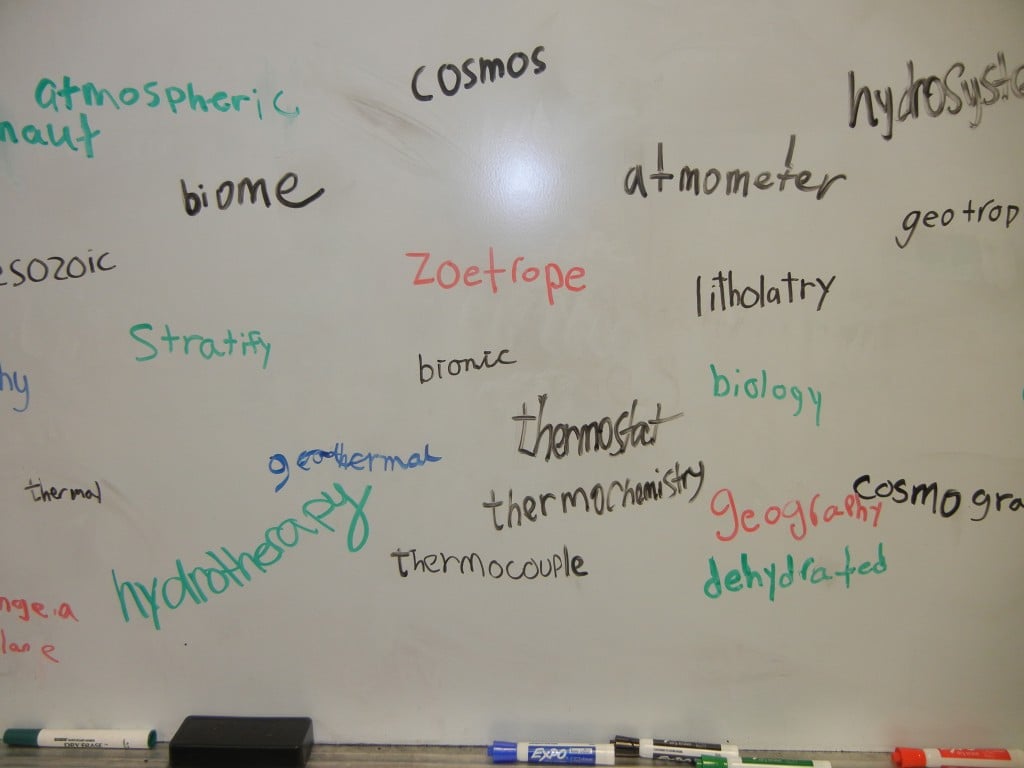
I am thrilled that these students could put together such an interesting collection so quickly!  I am also thrilled that they are playing with what they understand about the structure of words!  But I also know that structure is only half of it.  A word’s meaning is always echoing, even if faintly, the denotation of the base.  If the word is structurally sound and if the denotation of the base/bases is represented in the definition, then we have to see how the word is used by people.  Ultimately, that will decide how productive the word is.

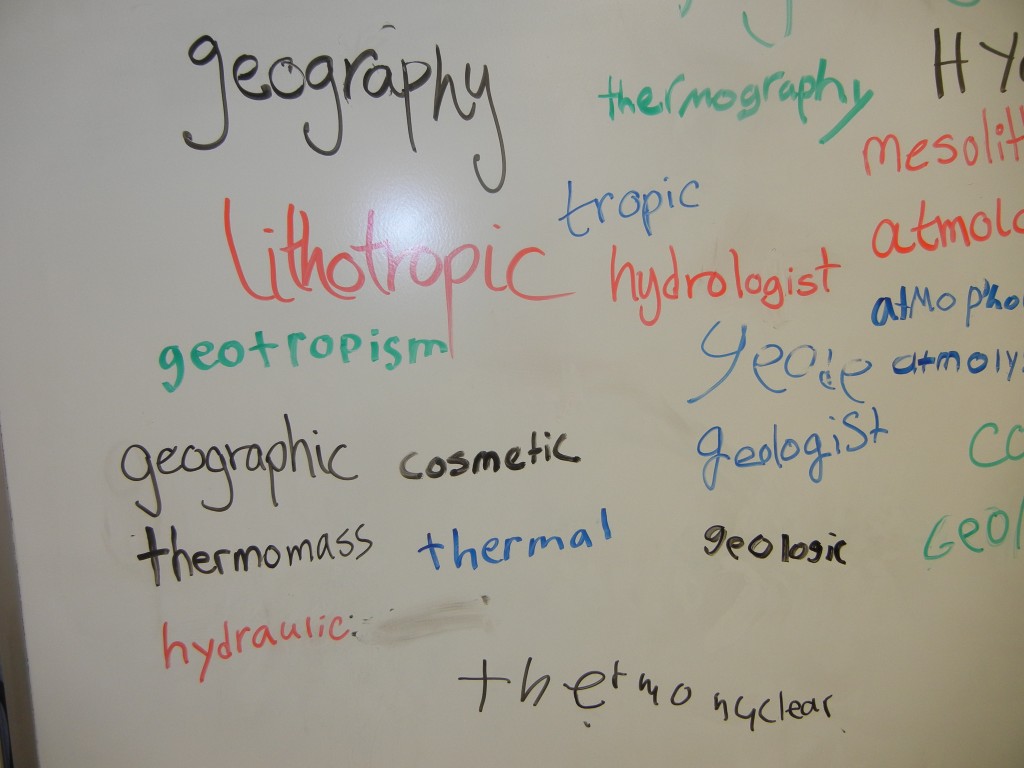
For example, one of the words suggested by a student was <lithotrope>.  Structurally it is sound.  Its word sum or algorithm is <lith> + <o> + <trope>.  But what does it mean?  The student who offered it quite confidently said it was a turning rock.  “You know, the earth!”

I replied, “I love it!  I have no idea whether that is a word we’ll find anywhere else or not, but I will look for it!”  I put it on my list to verify.  I was pretty sure my student invented it, but I was open to whatever I would find.  Some other words I had on my list were mesographic, mesothermal, geolithic, and geotherapy.

At this point it would be good to mention the TED video I showed my students last week.  Erin McKean is a lexicographer.  She writes dictionaries.  In this video she encourages her viewers to make up new words and she suggests several ways to do just that.  As you might guess, my students were ready to invent new words, and between yesterday and today they did just that without really planning to!  They were delighted!

Today I was prepared to talk about the words on my list plus quite a few of the other words that had been on the board yesterday.

Geotherapy
When I first heard it, I wondered if it wasn’t some sort of mud bath for humans.  Well, I did find it used in that way, but I also found that it could refer to humans correcting a situation within an environment.  Geotherapy is the process of remineralizing the soil in an ecosystem that has suffered a loss.  It is definitely an established word.

Geolithic
While this one sounds impressive as a science word, I could find no evidence of it being currently used, and when different groups of students were asked what it might mean, there was only a shrugging of shoulders and the words, “Earth rock?”  We decided it was not currently in use, and we weren’t sure that it had a place in our science conversations.

Mesothermal
Mesothermal refers to the climate in temperate zones where it is moderately hot and not cold enough for snow to stick to the ground.  We all smiled as we recognized how the denotation of each base gave us a clue to what this word meant!

Mesographic
Another impressive sounding word with an understandable structure, but without a recognized use according to our dictionaries and Google!  The students couldn’t decide precisely how this word would be used, so we appreciated it, and moved on.

Lithotrope
Although we could not find this word in use anywhere, it was one of our favorites.  When I asked students in my other classes if they thought we could refer to the earth as a lithotrope, they paused to think about it, smiled and said, “Sure!  Cool!”

Hydrangea
When we googled images of the hydrangea, students recognized this flower.  It can be white, blue, pink, or even purple.  But what is its connection to water?  Why the <hydr> spelling?  At Etymonline we see that the word <hydrangea> means “water vessel” or “water capsule”.  It is so named because the seed pod is cup-shaped!  Such an interesting detail!

Hydraulics
We had been talking about this word on and off for a week, but I still wasn’t sure the students understood how it involved water.  We watched the following video which really helped.  We imagined the syringes with the colored water as they would look on a large machine, covered in metal and moving specific parts.

Such is a classroom where learning orthography is a way of learning about the world.  What I thought would be a quick 15 minute review of the Greek bases we have been looking at, turned into something more, something fascinating, something satisfying!

Save

Save

Save

Save

Save

Save

Save

Save

Save

An Opportunity to Find Out What Works and What Doesn’t

“Your mission, ladies and gentlemen, is to make a balloon travel along a string.  Once you are satisfied that you have successfully accomplished that, you are to adjust your design to make the balloon travel faster.  In the end I would like you to see just how fast you can get the balloon to travel to its destination at the end of the string.”

Those were the instructions.  The materials each team of two started with were a balloon, a straw, and whatever length of string they wanted.  If they wanted to use additional materials, they had to ask.  I said yes to all requests that did not present safety concerns.  And they were off!

This was such a fascinating process to watch.  Most immediately began blowing up the balloons and tying them off – but then what?  Why were they given a straw?  “Do we have to use the straw?  How long should the string be?”

“Yes, use the straw.  Cut the string where you think it should be cut.”

There was that slight hesitation.  Those moments of letting the idea sink in that I wasn’t going to give them step by step directions.  But quickly that hesitation turned to excitement and concentration on the task.  I stepped back at this point and became the observer and recorder of the event.  I did not blow up balloons, and I did not get drawn into any group’s brainstorm.  I was eager to watch how each group would work this out.

DSCN6378 DSCN6338

At least two groups tried to use what they knew about balloons.  They rubbed the balloon in their hair to create static electricity.  They were disappointed to see that it wasn’t enough to keep the balloon sticking to the straw.

DSCN6339

DSCN6359

They tried seeing if the static electricity they were creating could be strong enough to pull the balloon along the string.  At this point the balloon was taped to a straw through which the string was threaded.   Then the balloon was rubbed in hair.  The girl followed the balloon as it was released on the string,  hoping her charged hair would pull the balloon.  This worked, but it was not speedy.  They abandoned the idea of using static electricity in this process, although other groups were curious by what this group was doing, and I saw them trying things with it as well.

Most everyone knew that by having one end of the string higher than the other, gravity would help that balloon move along the string.  There was one group, however, that created a two person game.  They rigged the strings in such a way that each person held the end of two strings.  As the first person pulled one string back, the balloon moved toward the other person.  Then the second person pulled one string back, and the balloon traveled back to the first person!  They added to the fun of their new game by drawing a face on their balloon.  What an unexpected invention!

DSCN6361 DSCN6377

Those who were taping one end of their string to the wall quickly learned that masking tape sticks better than scotch tape!  I did not let anyone attach their string to the ceiling, so they reached up along the wall as high as they could reach.  It was interesting to see the groups experiment with the angle of descent.  They learned that it indeed made a difference!

DSCN6380 DSCN6372 DSCN6342 DSCN6344

DSCN6374

While some were learning that the angle of descent was important, others were learning that the tautness of the string was important.  A few trials in which the balloon slowed and stopped along the way down, made the members of those groups tighten up the string.  One group even rubbed the string with closed markers, hoping to make the straw move more smoothly.

The next interesting thing I saw happening was weights being added.  This came in different ways.  Some added the weight by taping it directly to the balloon.  Others taped it to the straw.  Sometimes the weights were added in random places on the balloon and sometimes the weights were equal on either side of the balloon.  There was so much experimentation going on!  And as I had hoped, trying out each great idea always seemed to inspire another!

DSCN6345 DSCN6347 DSCN6367 DSCN6369 DSCN6384

DSCN6385 DSCN6388

It was interesting to note that some models had the balloon traveling above the string and some had it hanging below the string.  It appeared that the faster model had the balloon above the string and the weights attached to the straw.  One group used the cardboard tube from gift wrap and taped baggies full of Jenga blocks to it.  That balloon went really fast, but the baggies which were taped to the tube with duct tape kept falling off upon impact.

Another innovative idea was to tie two strings side by side.  The straw was cut in half and the strings were threaded through each piece.  The balloon was then taped to the two straws and set on its descent.  I loved that they thought of it and tried it.  In the end they learned that using two strings slowed the balloon down rather than to speed it up.

DSCN6364

Now if you are like me, you’ve been wondering when someone would think to blow up a balloon but NOT tie it off.  Instead, hold it shut while it gets taped to the straw.  Then let go and watch the balloon power itself!  Funny, but only five out of the thirty groups that experimented throughout the day played around with this idea.  One of the groups that used the untied balloon as an “engine” combined it with other great ideas.  They had a tied off balloon taped to the bottom of the straw with weights (markers and glue sticks) taped to the straw.  They blew up a second balloon and taped it to the top of the straw just before launching.  After a few successful descents, they dressed up their model with airplane-type wings and called it the U.S.S. Static Electricity!

DSCN6350 DSCN6351

I think I enjoyed this 45 minute activity as much as the students.  They were never done trying out different ideas.  There was that one group that in the first five minutes said, “We can’t get it to go.  We can’t do this.”  But given five more minutes, they were busy, busy, busy.

After clean up, I gathered everyone together and asked what they had learned.  You see, the point of this was never to have the fastest balloon in the class.  The point was to keep modifying or trying different ideas and to improve the original design several times.  To that end, everyone achieved success!

DSCN6386

“She Turned Her Can’ts Into Cans And Her Dreams Into Plans” -Kobi Yamada

New standards to follow.  Again.  But this time?  I’m happy.  I’m really and truly happy!  I’m speaking about the Next Generation Science Standards.

As the fifth grade science teacher (We are specializing this year.  I teach science, writing, grammar, and orthography.) I have become familiar with the new standards and am completely rewriting our grade level curriculum.  What is it about the standards that make me so happy?  Let me put it this way.  If there were no standards to follow and I was allowed to teach science however I wanted, I would do what these standards are asking.  Example number one.

There is a standard for teaching students about engineering design.  They must be given a problem to solve.  It must be a real problem that needs solving.  They must do some research and discuss their design and choice of materials with peers.  They must be given time to implement their design.  After reflection, they must be given an opportunity to try it again and improve their original design.

First week of school.  Each student has his/her own locker.  Every two students have a third locker that they share.  In the personal locker, jackets, boots, snowpants, backpacks, and lunches will be stored.  In the shared locker, books, folders, and classroom supplies will be stored.  The problem to solve?  Design locker shelving that will create the kind of storage that will help the two students sharing the locker stay organized.

Step One:  Collect information.  Students measured the height, the width, and the depth of the locker.

DSCN4653 DSCN4650 DSCN4649 DSCN4640 DSCN4629 DSCN4628 DSCN4627

Step Two:  Do some research.  What kind of locker organizers/shelving is on the market?  Can you incorporate some of these ideas into your design?

DSCN4632 DSCN4633 DSCN4634 DSCN4642 DSCN4643 DSCN4644 DSCN4645 DSCN4646 DSCN4654 DSCN4655

Step Three:  Draw your design and label with the dimensions.

DSCN4644 DSCN4647 DSCN4653

Step Four -Build.  THE CHALLENGE:  Use as much recycled material as possible.

DSCN4660 DSCN4661 DSCN4663 DSCN4664 DSCN4665 DSCN4667 DSCN4668 DSCN4670 DSCN4672 DSCN4675 DSCN4677

Step Five:  Test the final product.

DSCN4662 DSCN4668 DSCN4678 DSCN4681 DSCN4682 DSCN4698

Step Six:  Reflect.  Think about your own process.  Did you change your plan along the way?

DSCN4738 DSCN4739

Question:  If you were to do this project over, what would you do differently?

Responses:
“I would make the shelves thicker to hold more weight.”  Nicole
“Use better and stronger materials.”  Matthew
“If I had found some styrofoam, we would have used it.”  Zach
“I’d add more shelves because we don’t have room for all our supplies.”  Trevor
“I would use better supports to hold up the shelves.”  Aevri
“I would use thicker yarn.”  Aidan
“Our shelves needed stronger supports and stronger materials.”  Evelyn

Three weeks later, some of the shelving is nonexistent. Some has fallen apart and is no longer functional.  But several remain intact and quite successful.

DSCN4740 DSCN4741 DSCN4743 DSCN4744 DSCN4745 DSCN4746 DSCN4747

So!  It is time for those students whose first design didn’t quite yield successful results to rethink their plan.  It’s time to have another go at it.   Will any of the successful designs be copied?  Will completely new designs and materials pop up?  What a great activity!