Onward to our next science topic … the Earth’s Systems.

What a fabulous opportunity to introduce connecting vowels! In groups of two, students were given one of the following words to investigate:
-geosphere -atmosphere -biosphere -lithosphere
-hydrosphere -cosmosphere -stratosphere
The first step was to look in a standard dictionary to find a definition. Once each group had an understanding of the word, it was time to look at the structure of the word. Students came up with one or more hypotheses about their word. For example, one group thought that the structure of geosphere might be either <geo> + <sphere>, <geo> + <sph> + <ere>, or <geos> + <phe> + <re>. It was time to research the word to see if we could find the root of the word. That would likely help us identify the base element.
As a group we looked at the Online Etymology Dictionary. We read several entries together to get ourselves familiar with the manner in which the information is presented. We found that the following bound bases had Greek roots:
-<ge> meaning earth
-<atm> from atmos, meaning vapor or steam
-<bi> from bios, meaning life
-<lith> from lithos, meaning stone
-<hydr> from hydros, meaning water
-<cosm> from cosmos, meaning universe
-<strat> from stratos, meaning spreading out
The students recognized that <sphere> is a familiar word and doesn’t need an affix to be a word. It is therefore a free base.
In each of these words there is an <o> that is neither part of the base nor is it a suffix. It is a connecting vowel. Since all of these words have their roots in Greek, it is not surprising that they all have <o> as a connecting vowel. Most words of Greek origin that have a connecting vowel use <o>. (A connecting vowel is an affix. Since it comes after the base, it cannot be a prefix, and since it cannot be final in a word, it cannot be a suffix. It is therefore a third type of affix. For more information I recommend watching this film on Connecting Vowels at Real Spelling.)
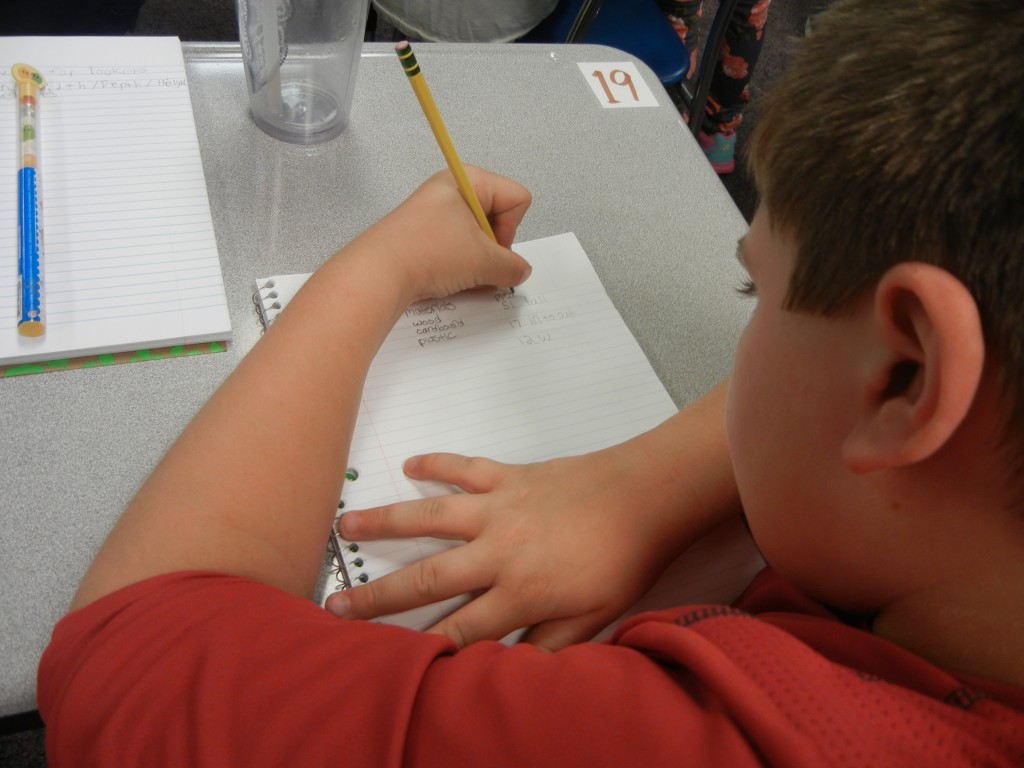
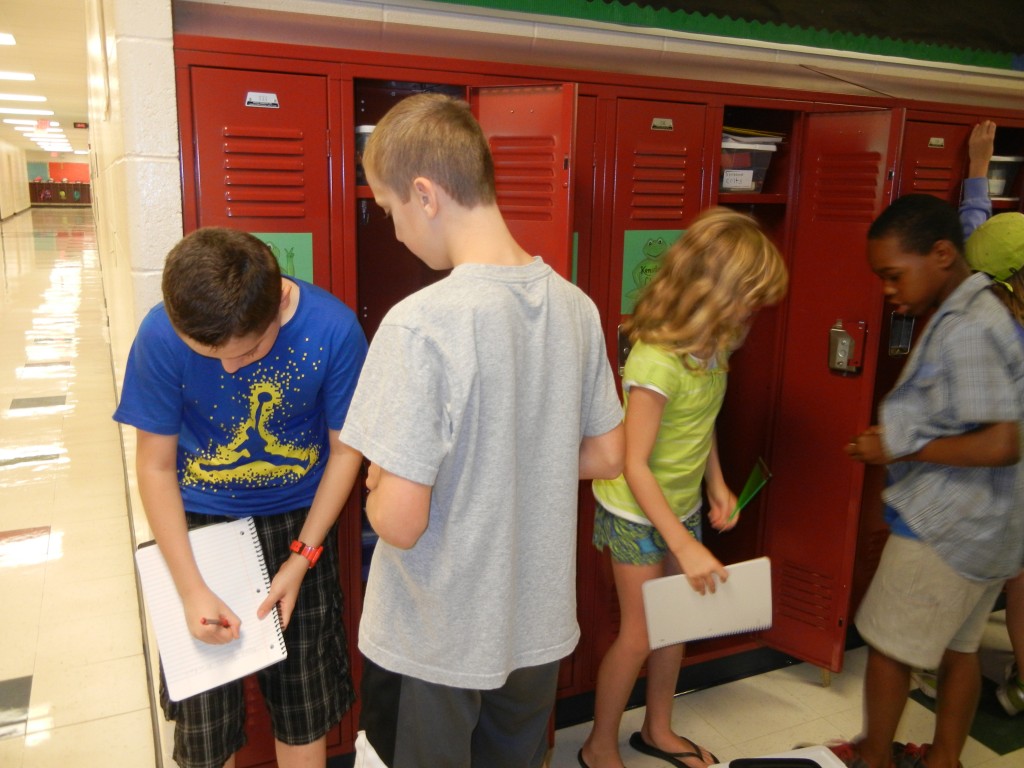
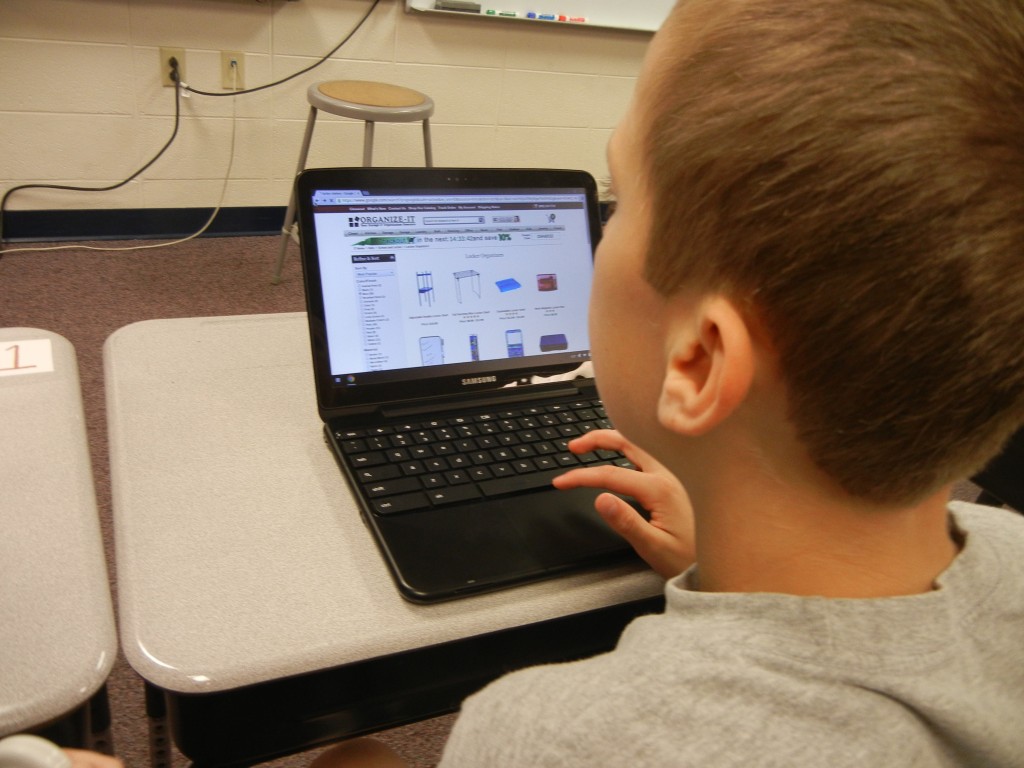
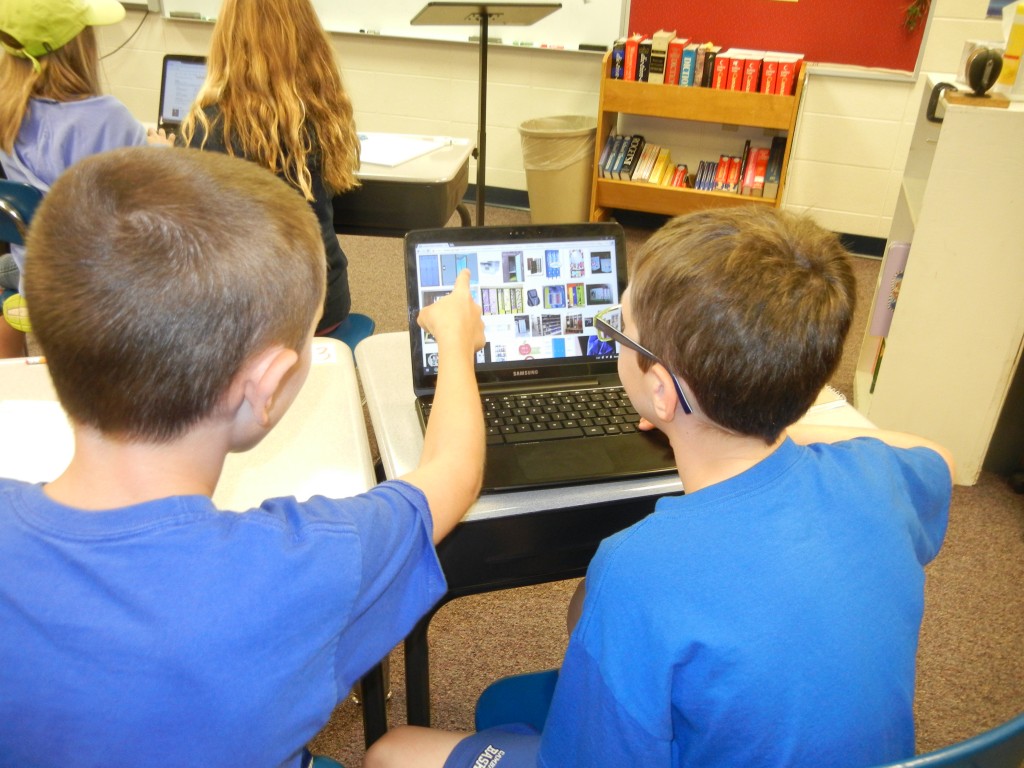
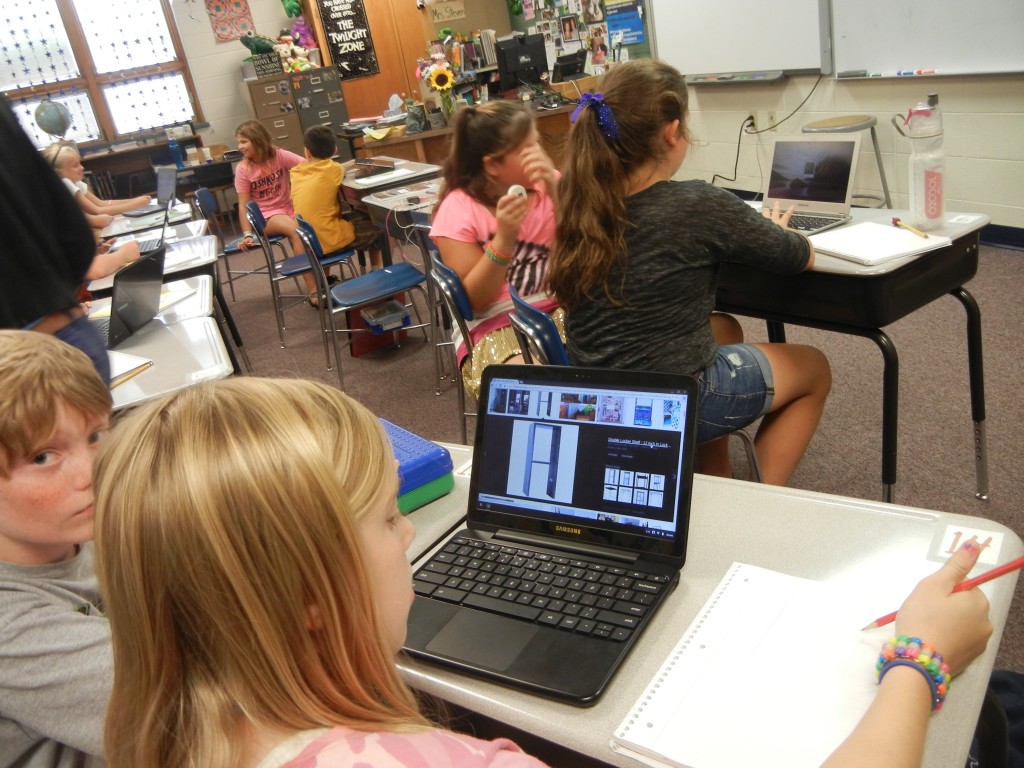
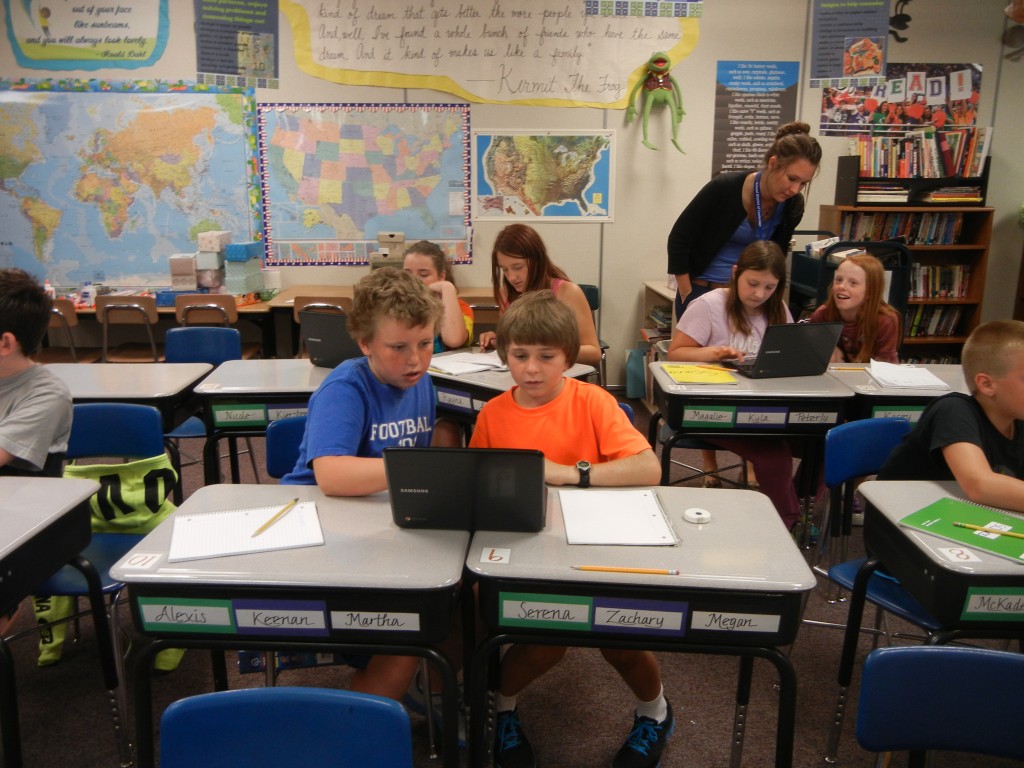
Now they were ready to use Word Searcher. Each group went to work finding relatives of each bound base’s family. This search often included quick trips to Etymonline or other dictionaries to make sure that the words collected did indeed share meaning with the base.
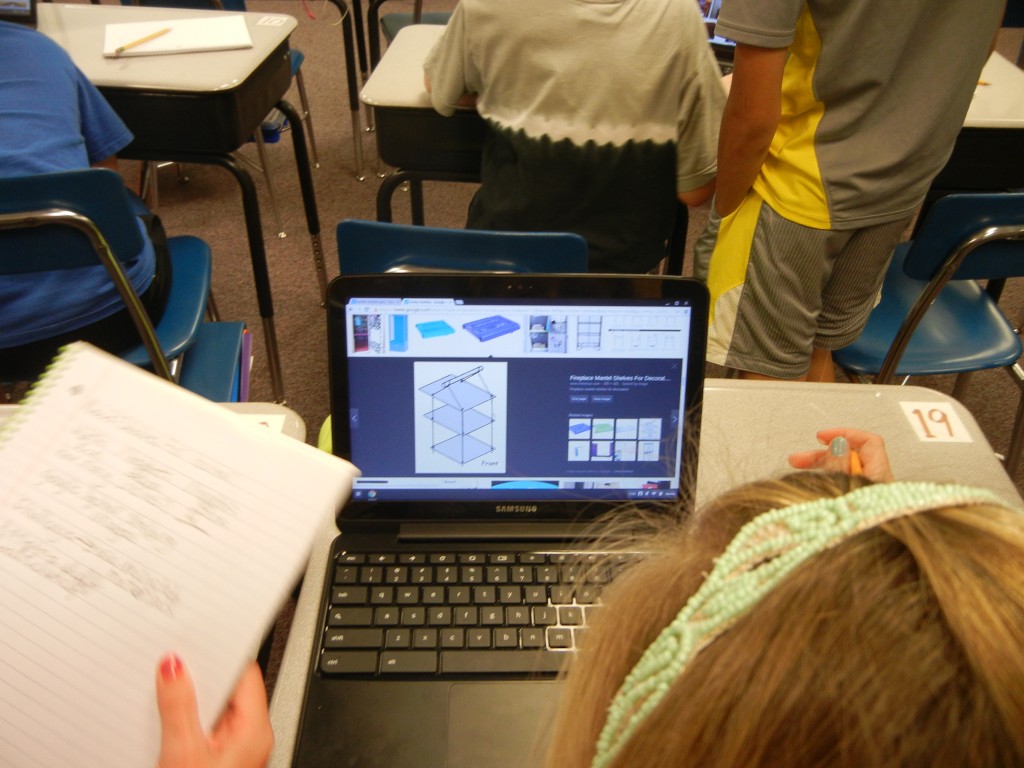
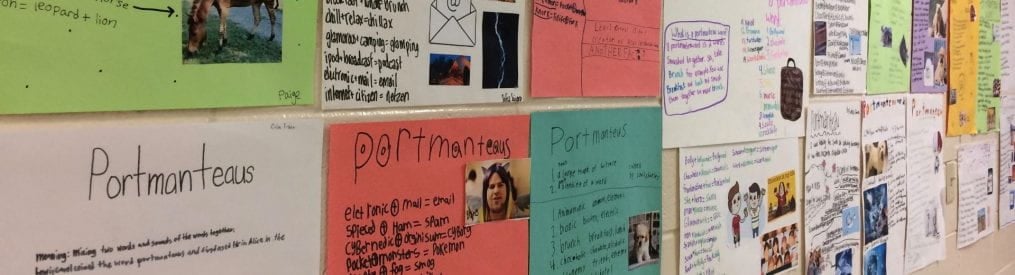
Once their list of relatives was compiled in their notebooks, the students began writing out word sums and creating a matrix.
Having a list of words to investigate that were so structurally similar was interesting. Once we talked about the free base <sphere> that was common to all the words on the list, we had the opportunity to practice using online tools like etymonline and word searcher to find out about the other base in each word. At first it was hard to see these words as compound words because the first base was a bound base and not as recognizable as a free base would be.
We had opportunity to practice spelling out words using word sums. The students are so used to spelling words letter by letter, that they keep forgetting to group the letters into morphemes as they spell. This will take some practice. I know! It was a habit that I personally had to break not so long ago. But I also know it will be worth it in the long run.
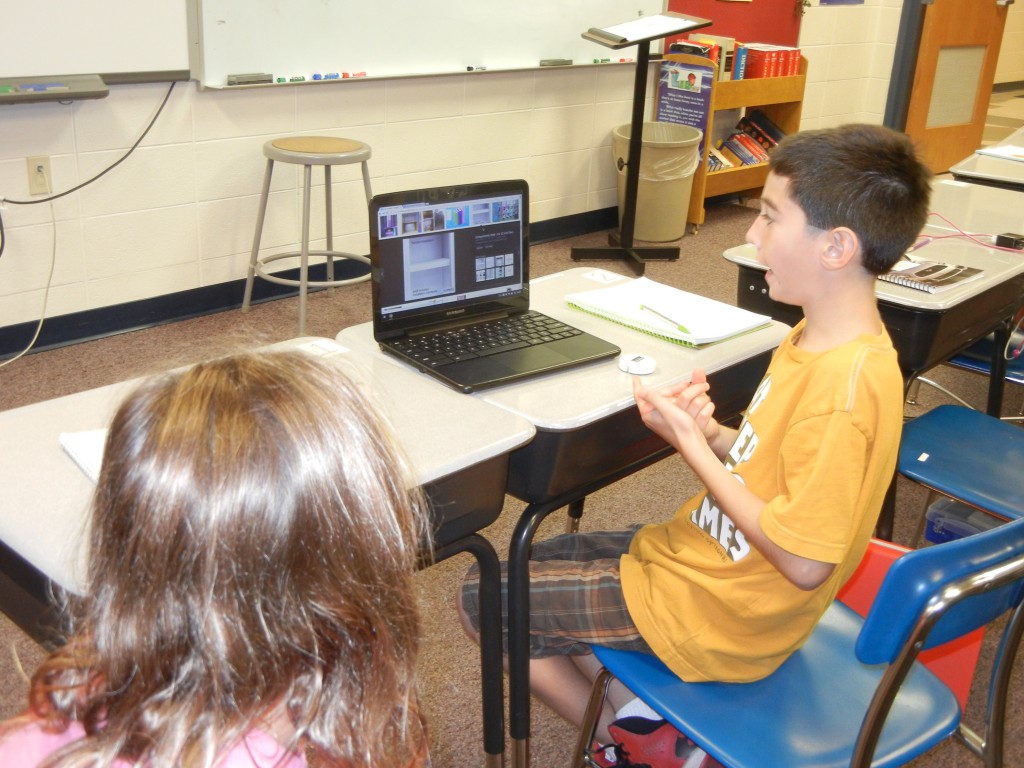
Students created their own matrices. This was challenging because the students don’t recognize many suffixes besides <s>, <es>, <ed>, and <ing> yet. They are definitely becoming comfortable with the idea that a word can have several suffixes. With so many students presenting, we were able to notice an <ant> and <ic> suffix being used in several of the matrices. I was also able to begin demonstrating how to collect evidence to prove whether a letter combination was a suffix or not.
There are still several groups ready to present their word investigation. This will give the students more opportunity to talk about spelling and words in a way that is foreign to them.
I know that these students have never been as mentally engaged with words as they will be this year. I smile when I think of how much they will learn!