Engineering…..
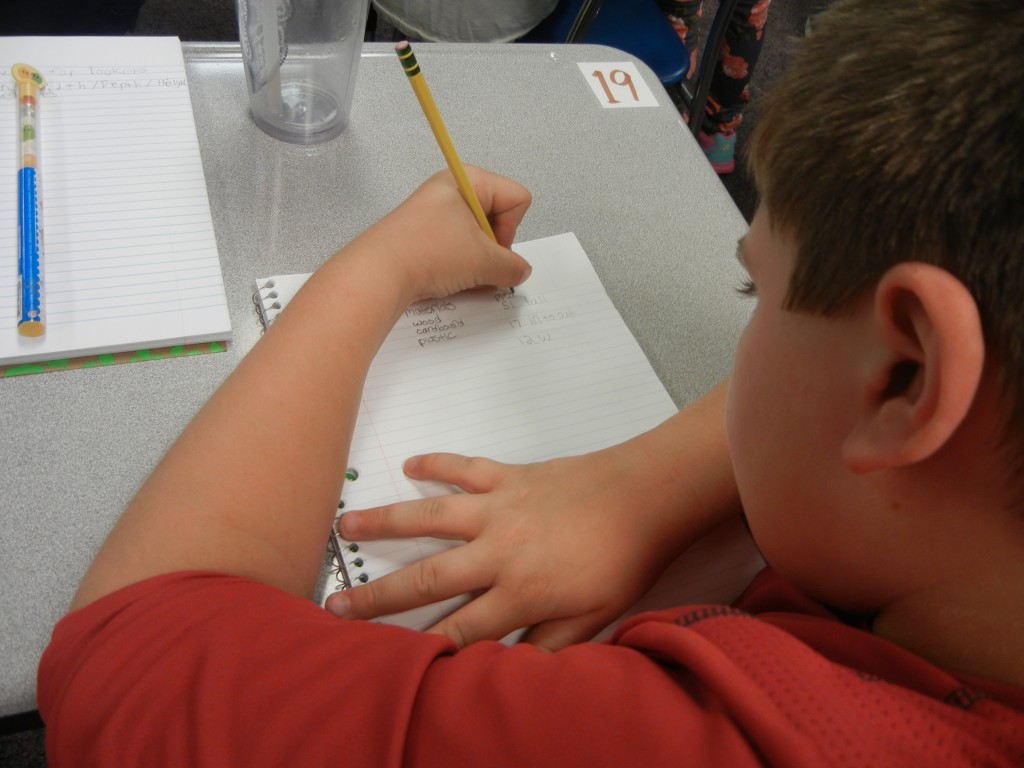
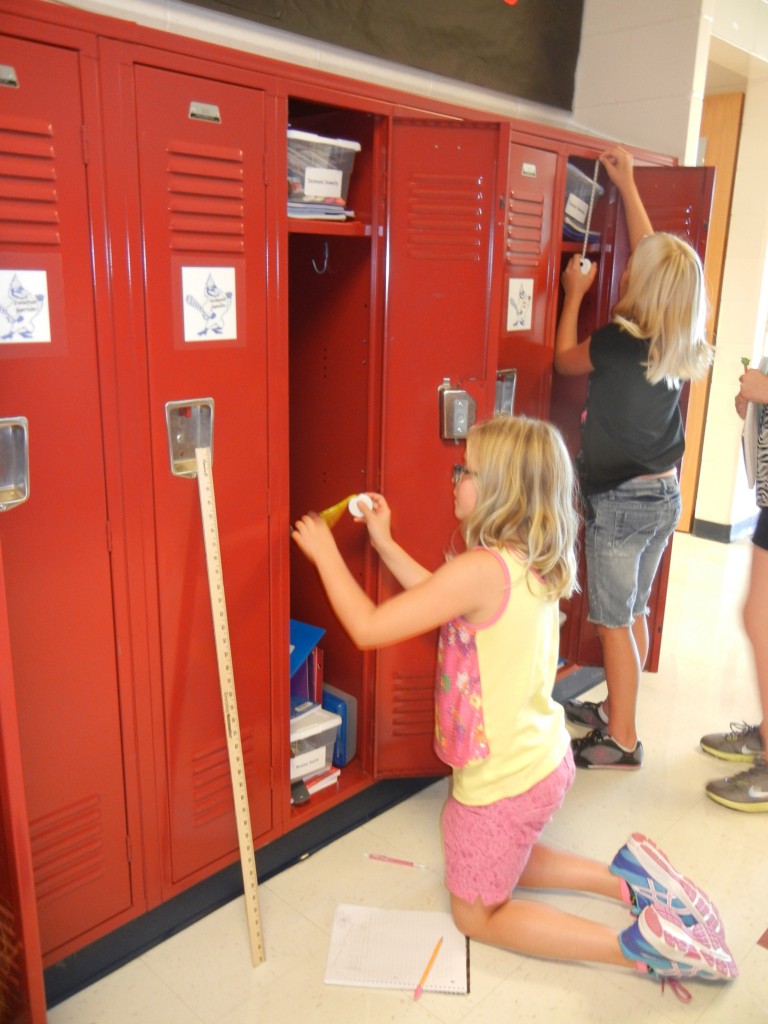
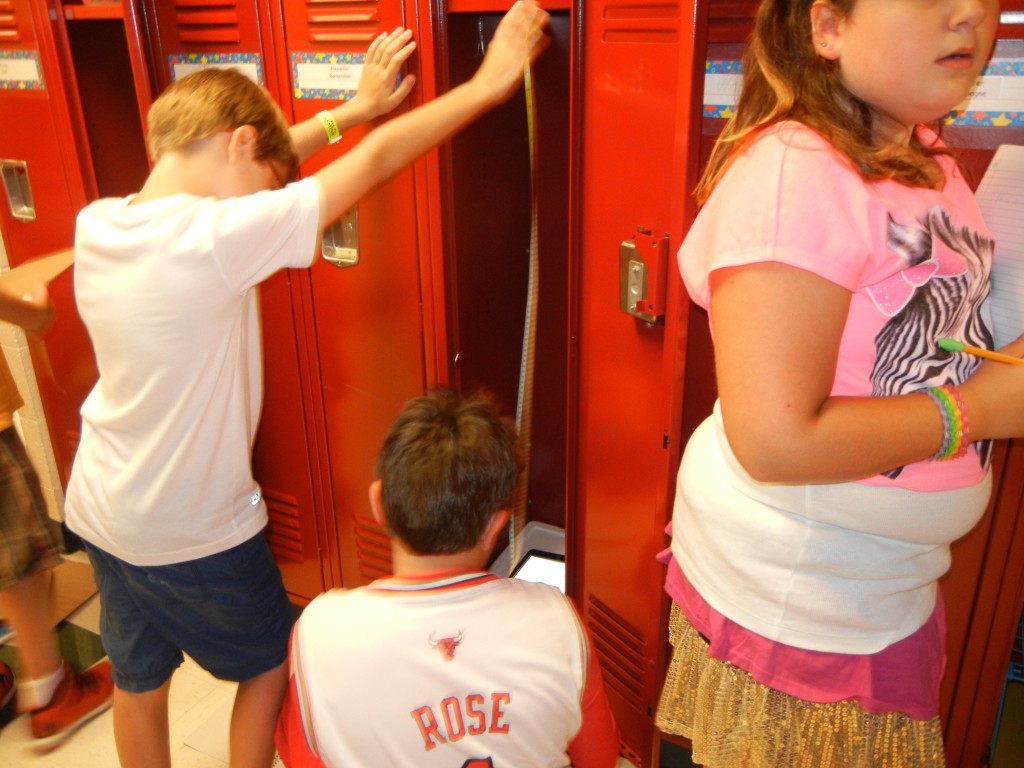
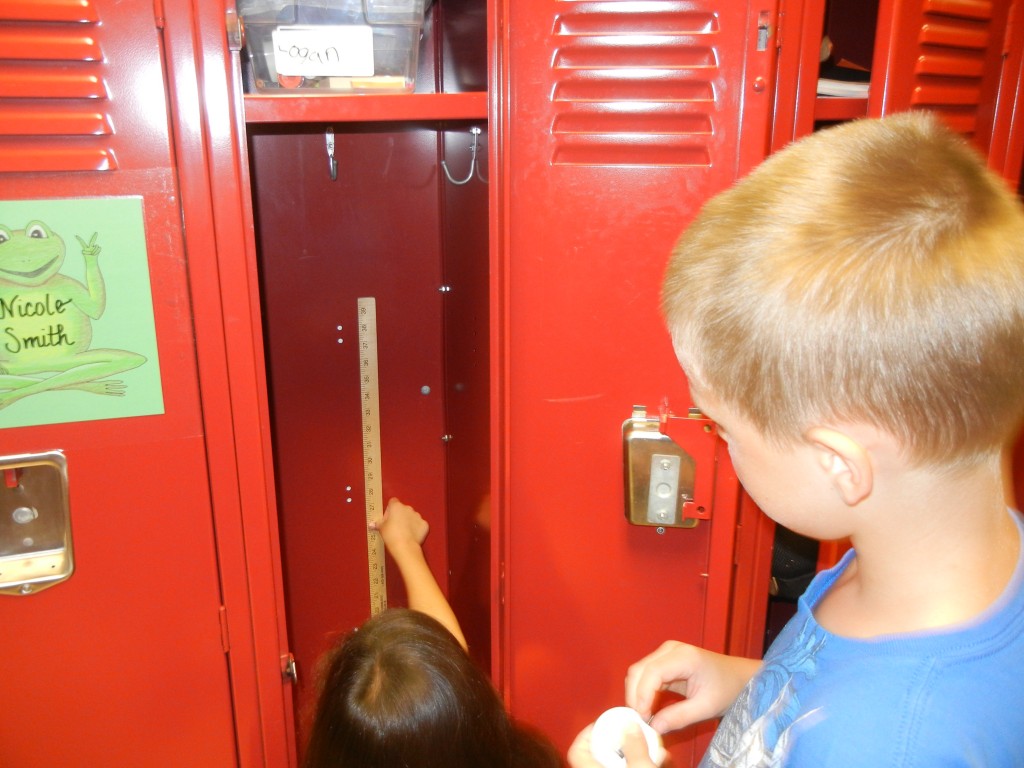
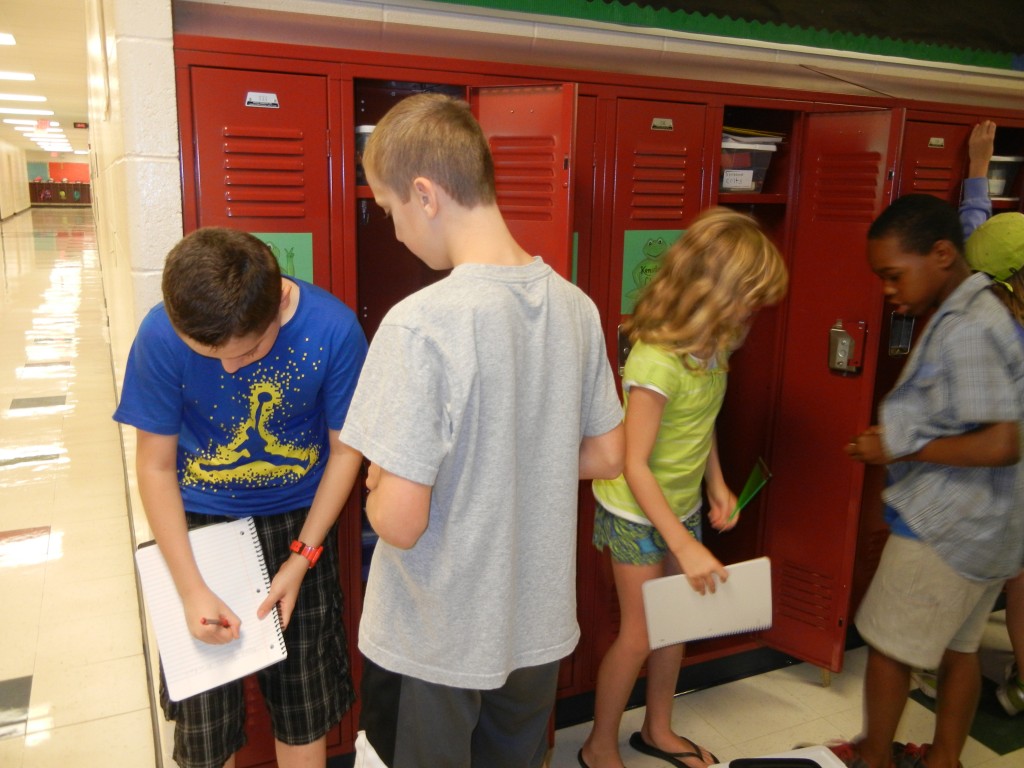
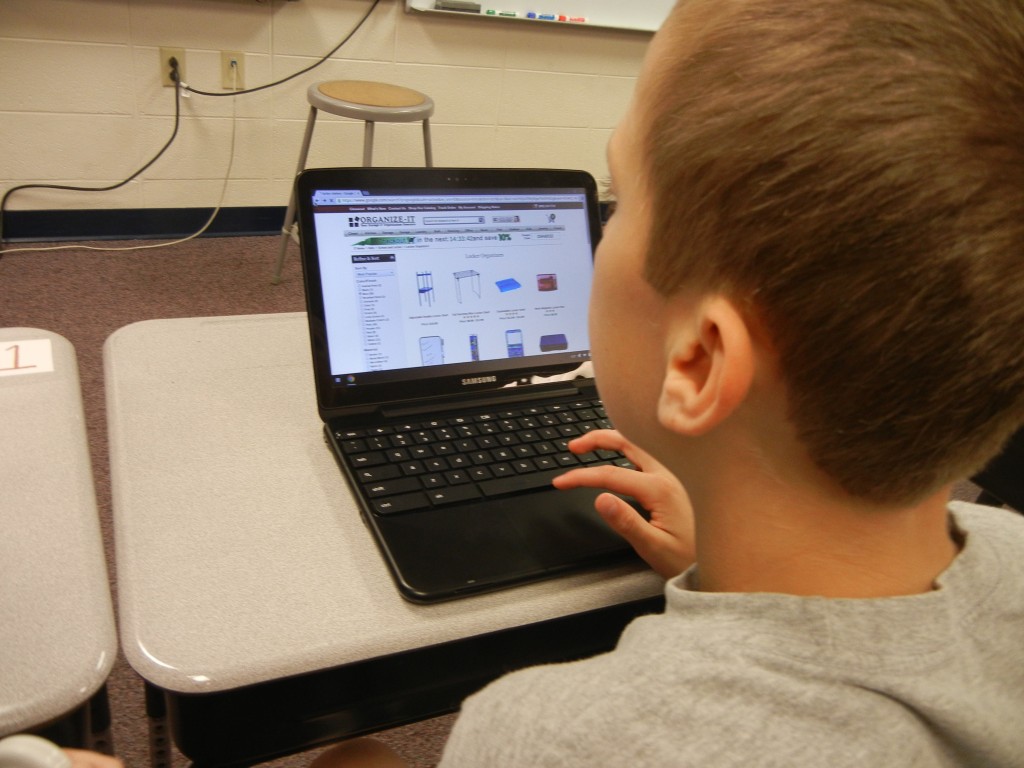
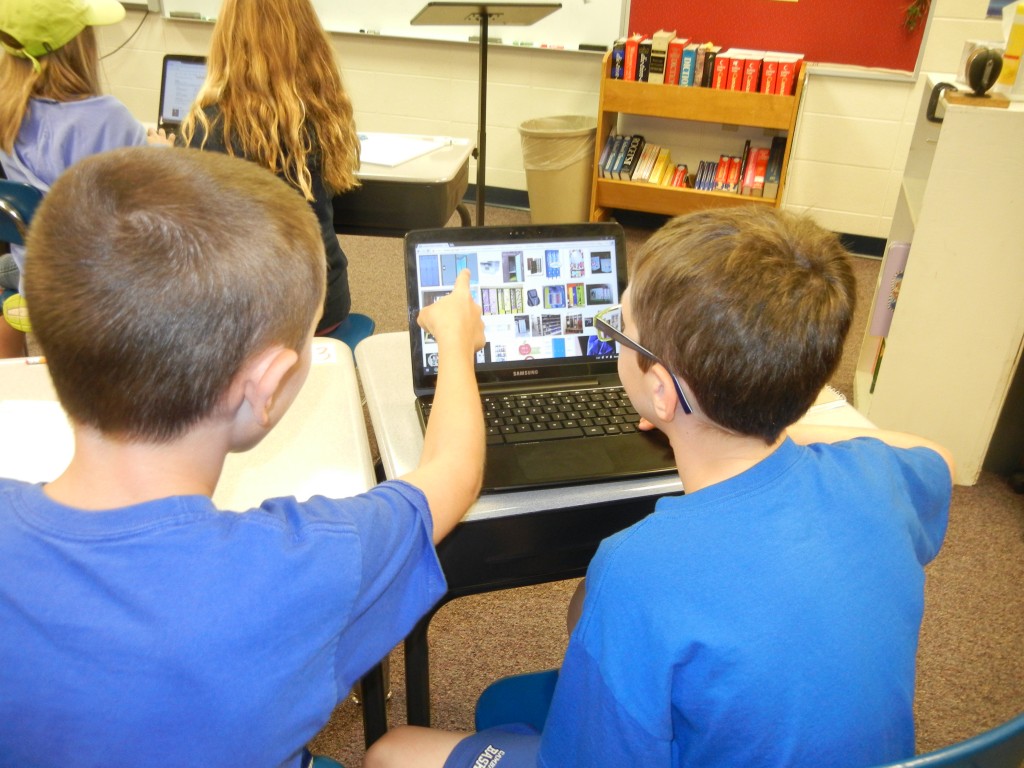
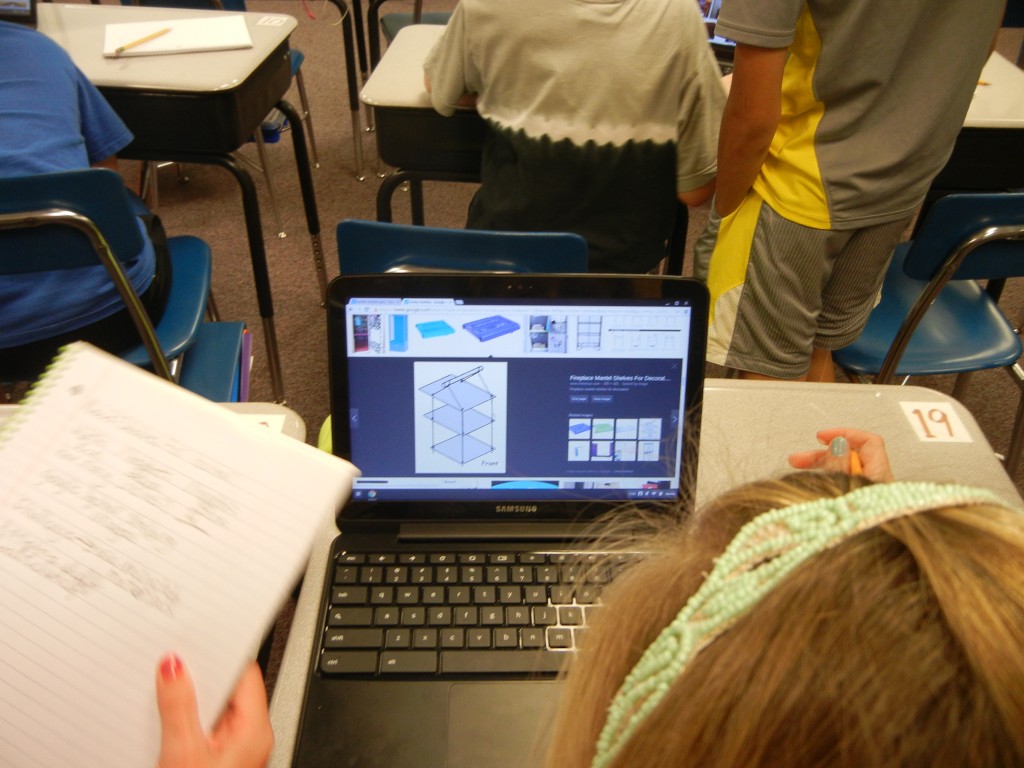
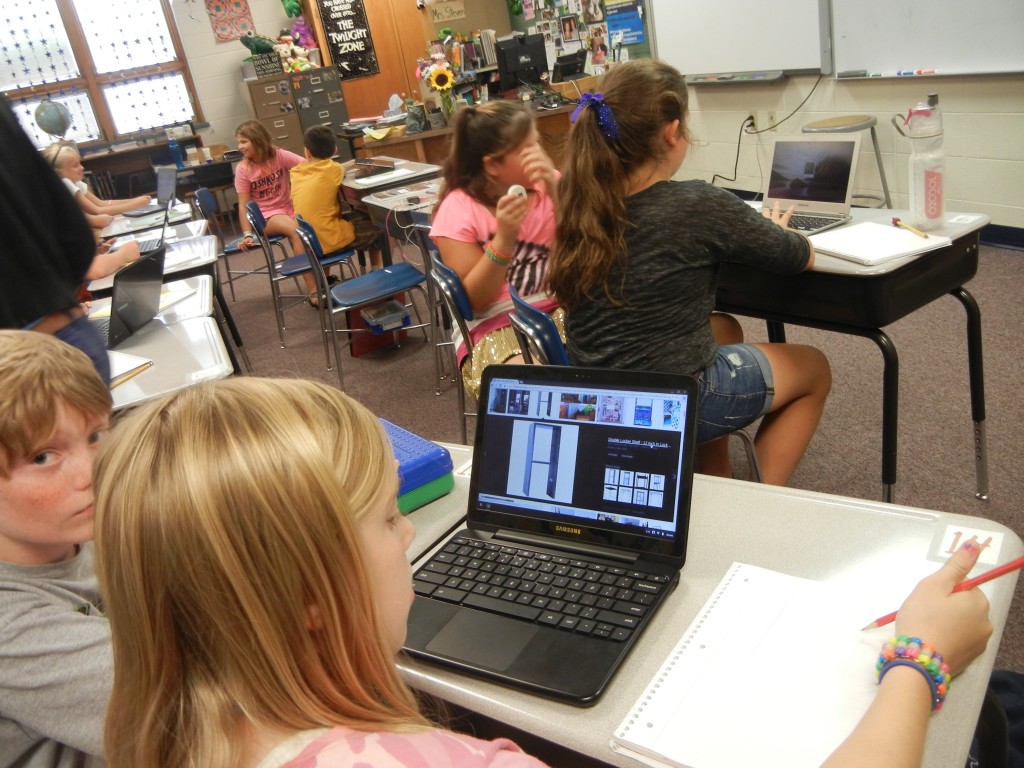
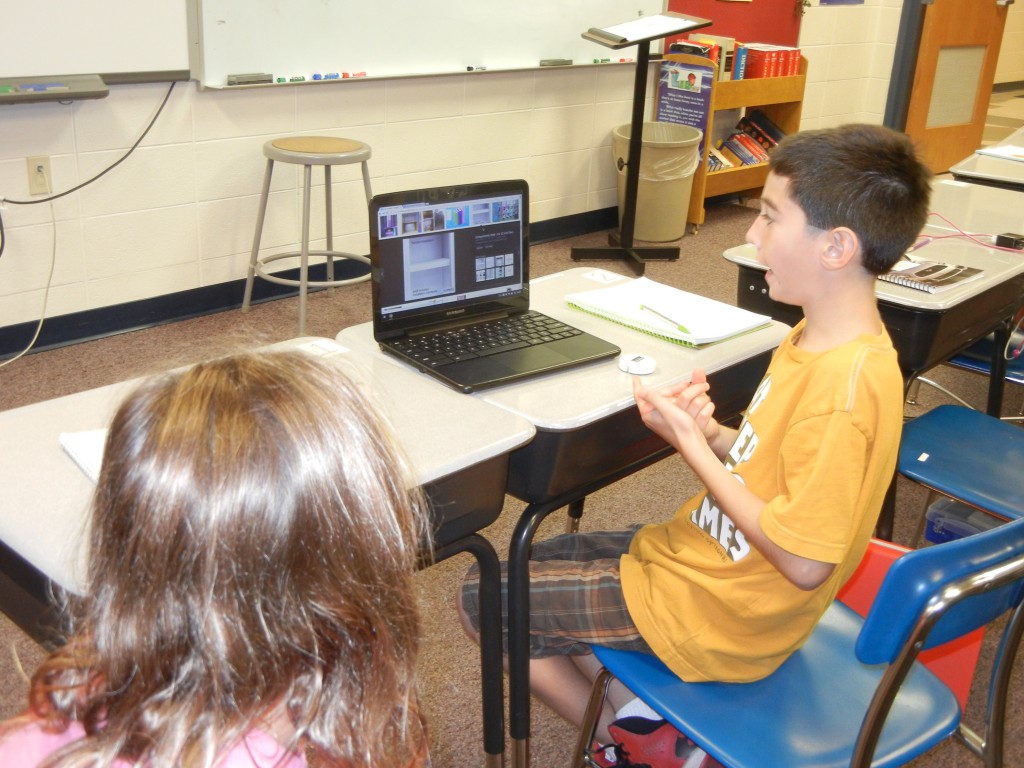
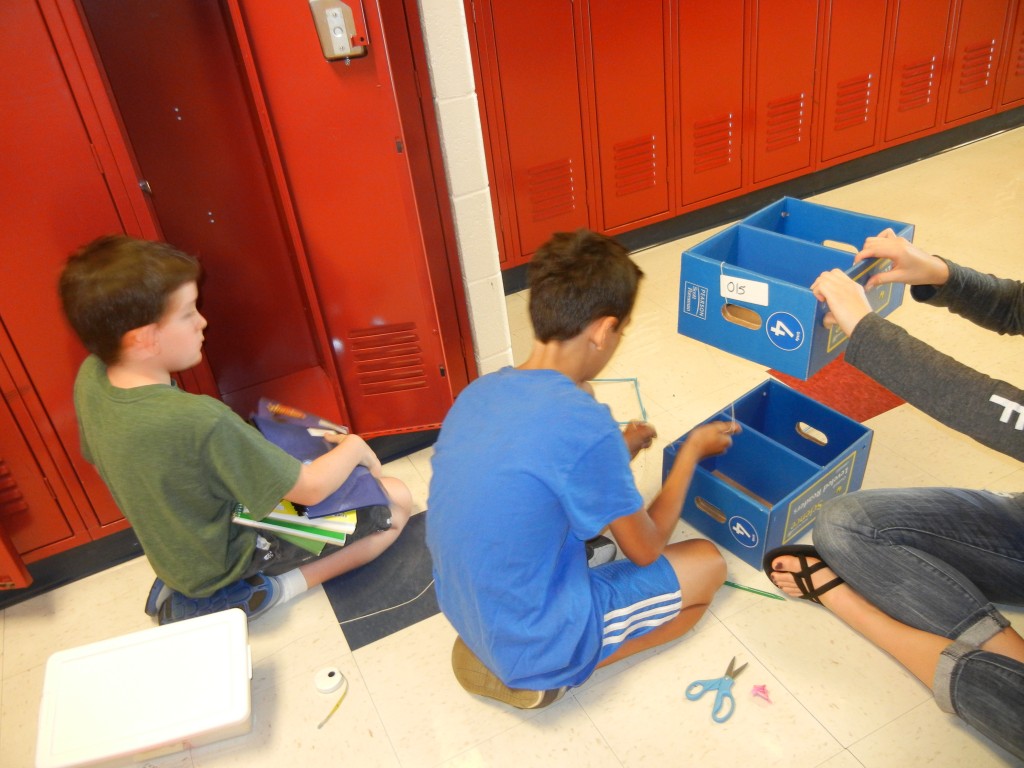
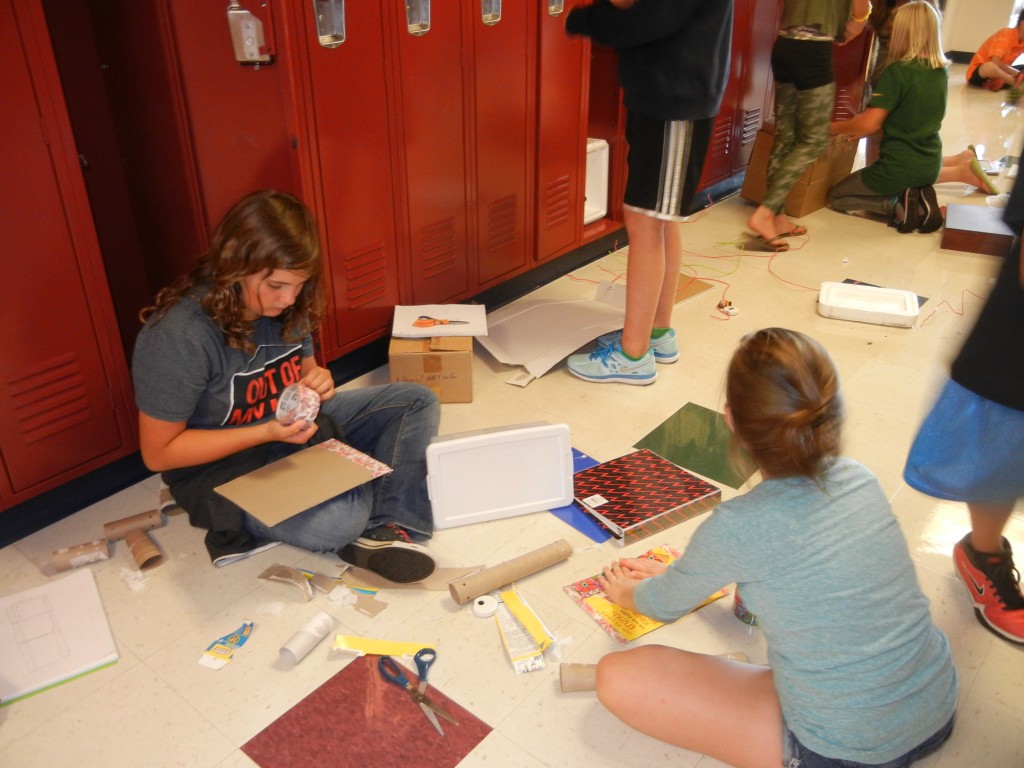
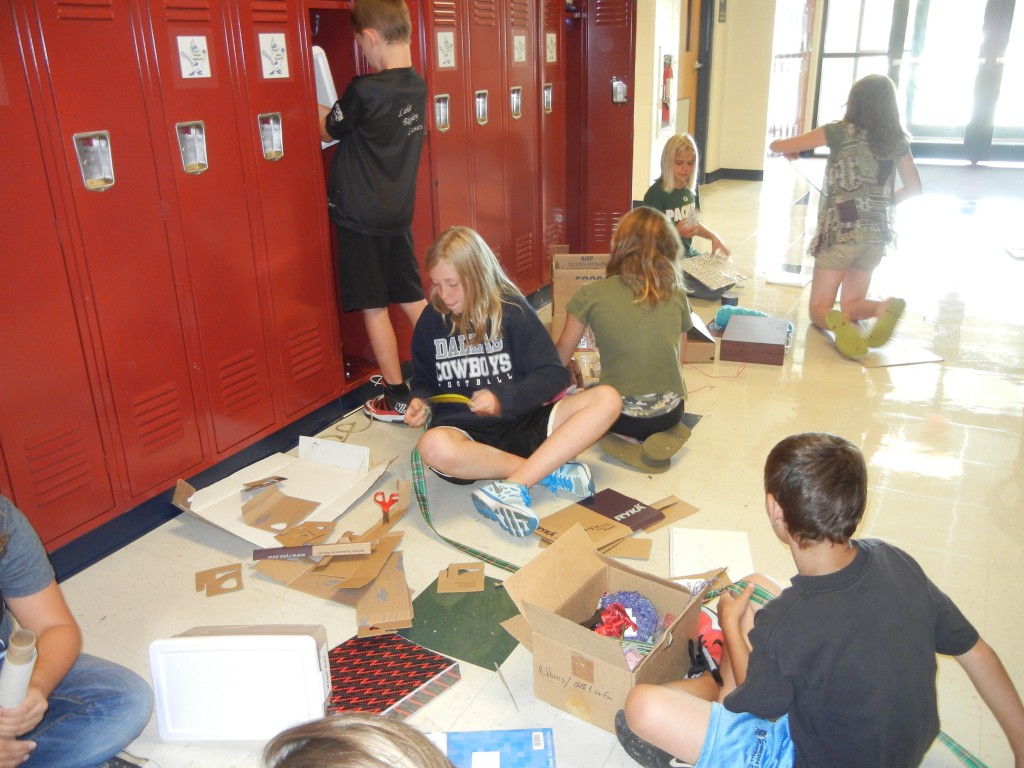
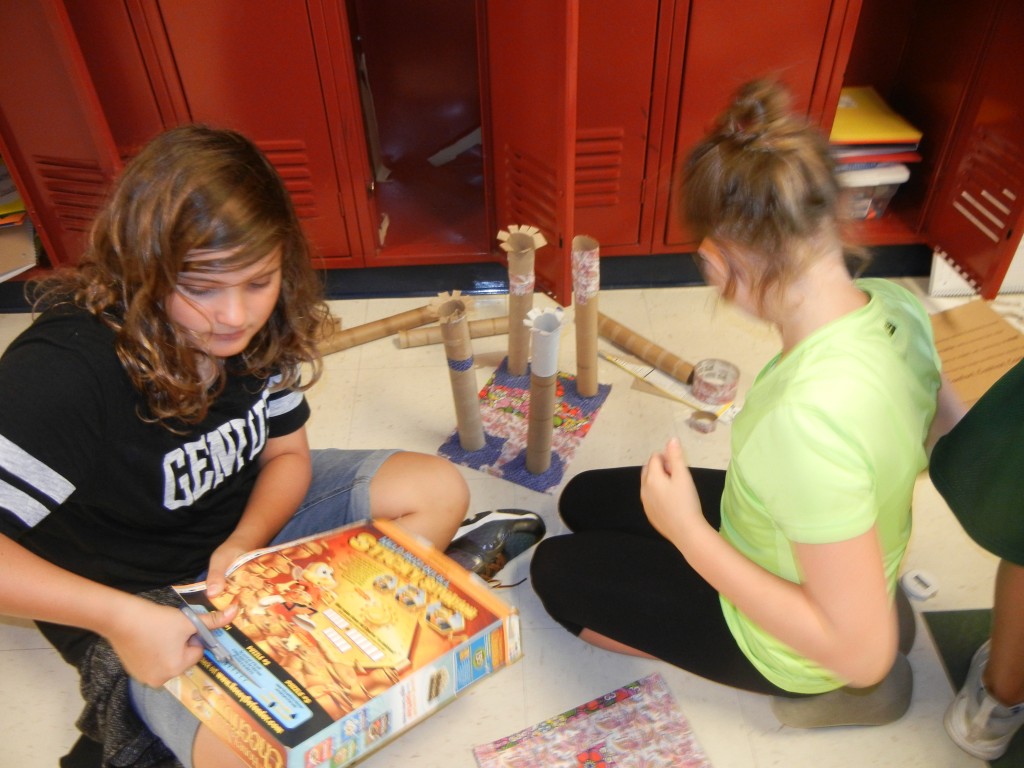
The first engineering project this year was building locker shelves. The students had to identify how many shelves they would need and how those shelves would be used. Then they were ready to begin researching existing shelving units and collecting building materials. The project challenge was to use as many recycled materials as possible, and to build shelves that would still be functioning as such in eight months time. The students made drawings in their notebooks that included measurements. Then they started building.
Here are some interesting things the students learned:
~Once cardboard is bent, it isn’t stiff like it was before.
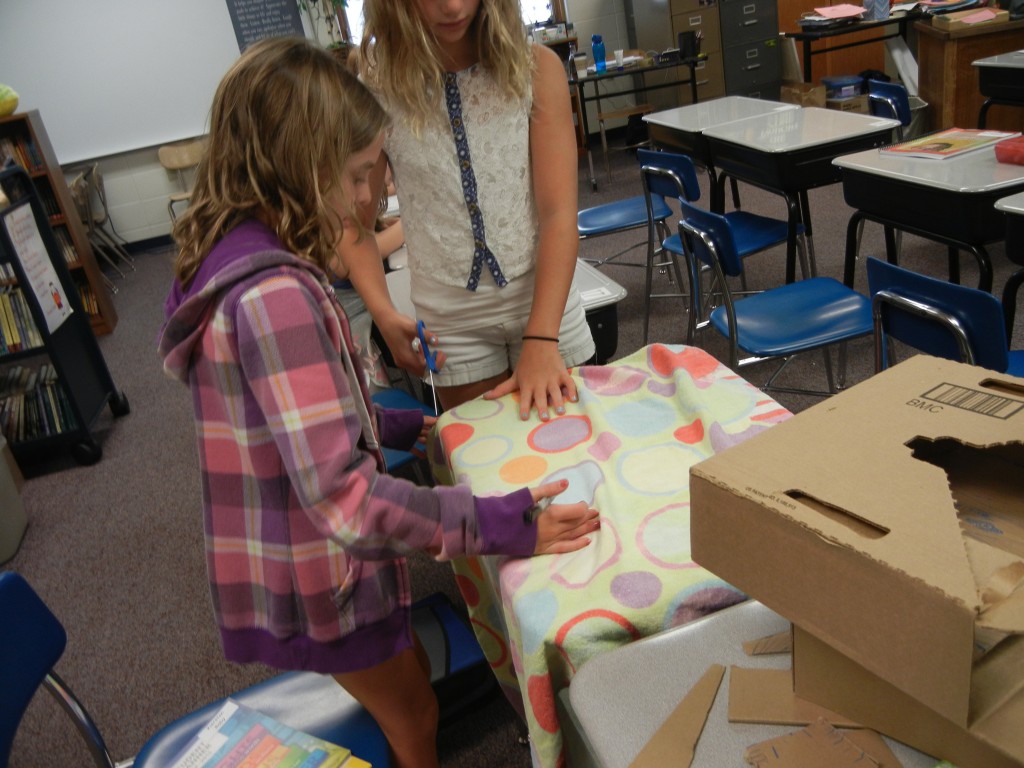
~The thicker the cardboard, the stronger the shelf.
~Many layers of thin cardboard work as well as one layer of thick cardboard.
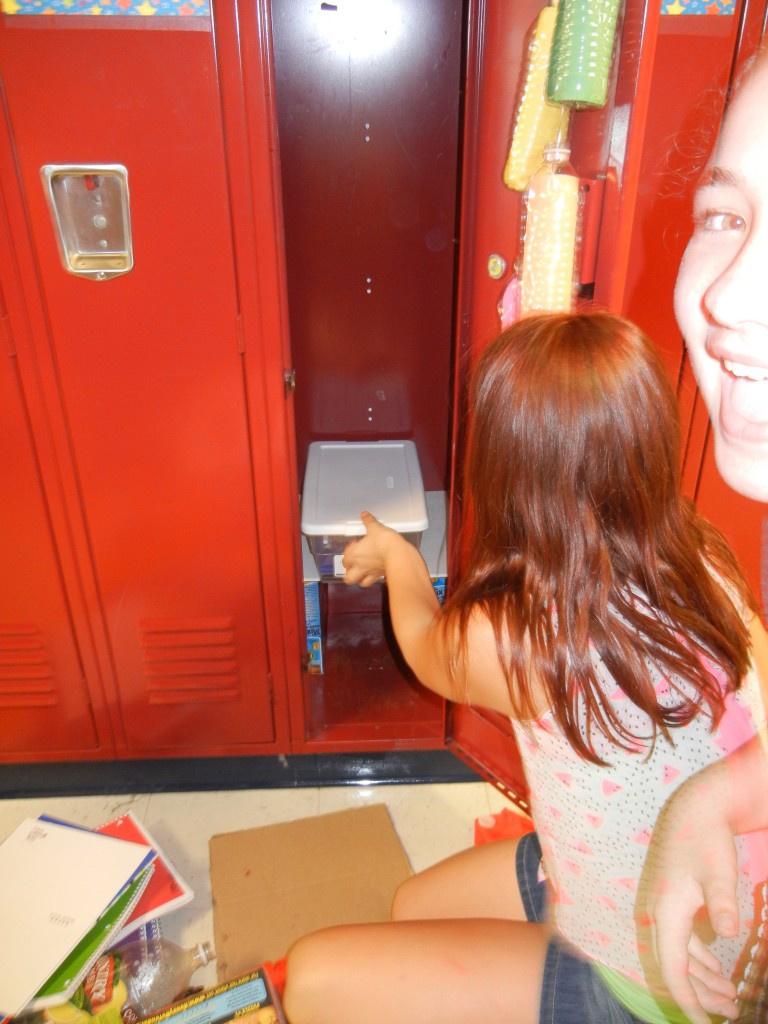
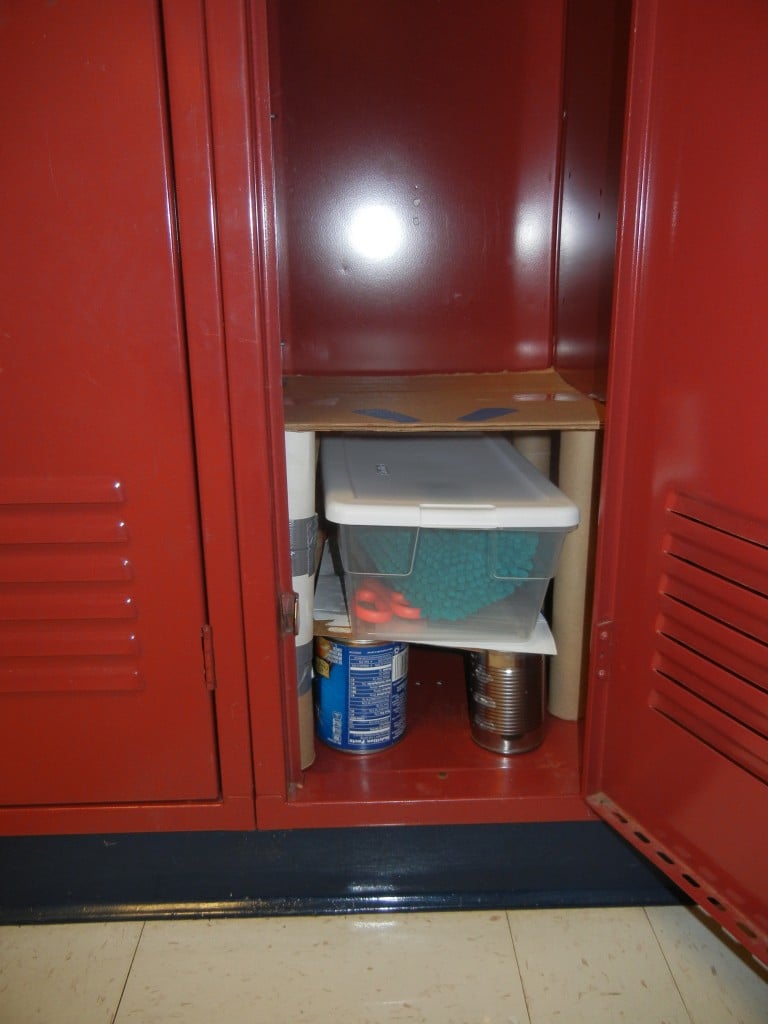
~A piece of cardboard cut to the exact measurements of the locker can be wedged in place and not need supports of any kind.
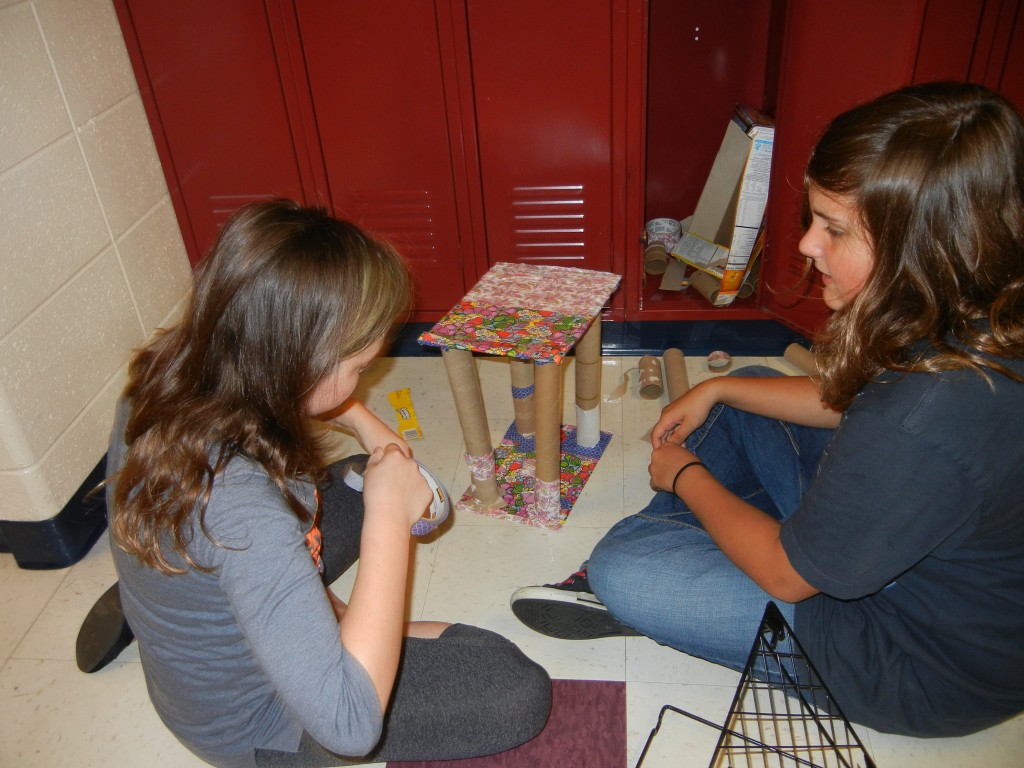
~Circular supports such as cardboard tubes from paper towels or soda cans make great support columns.
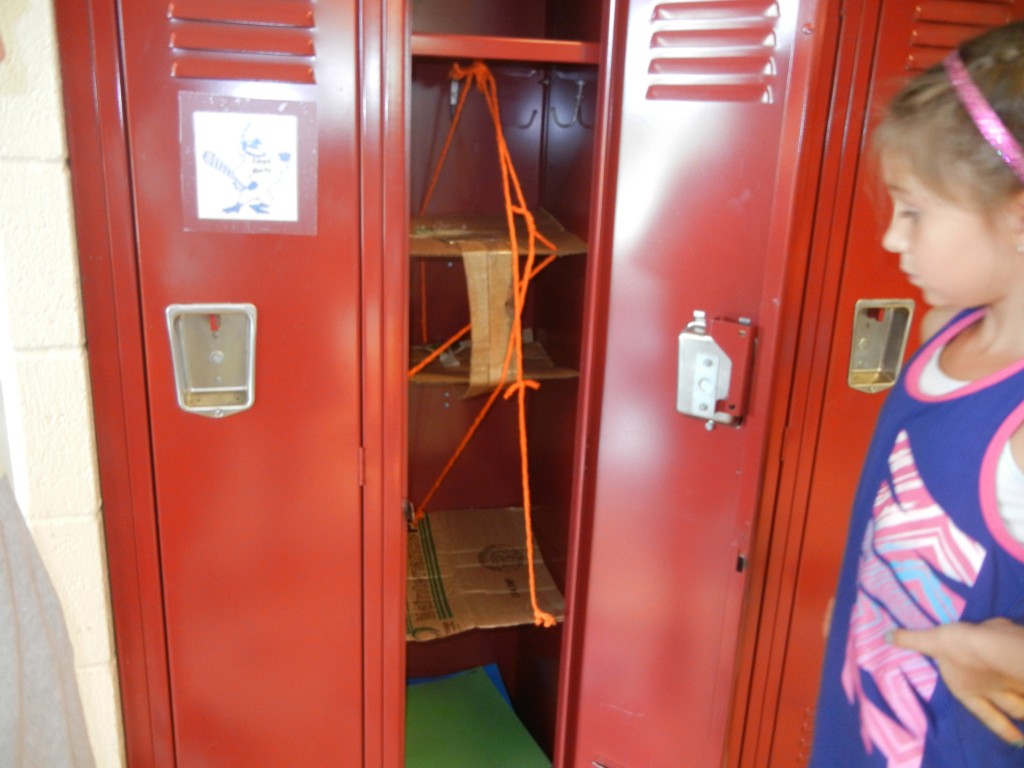
~Shelves can be supported with string/rope/yarn stretched across the width of the locker.
~String is stronger than yarn, and rope is stronger than string.
~One support in the middle makes the shelf a bit wobbly when weight is put on it.
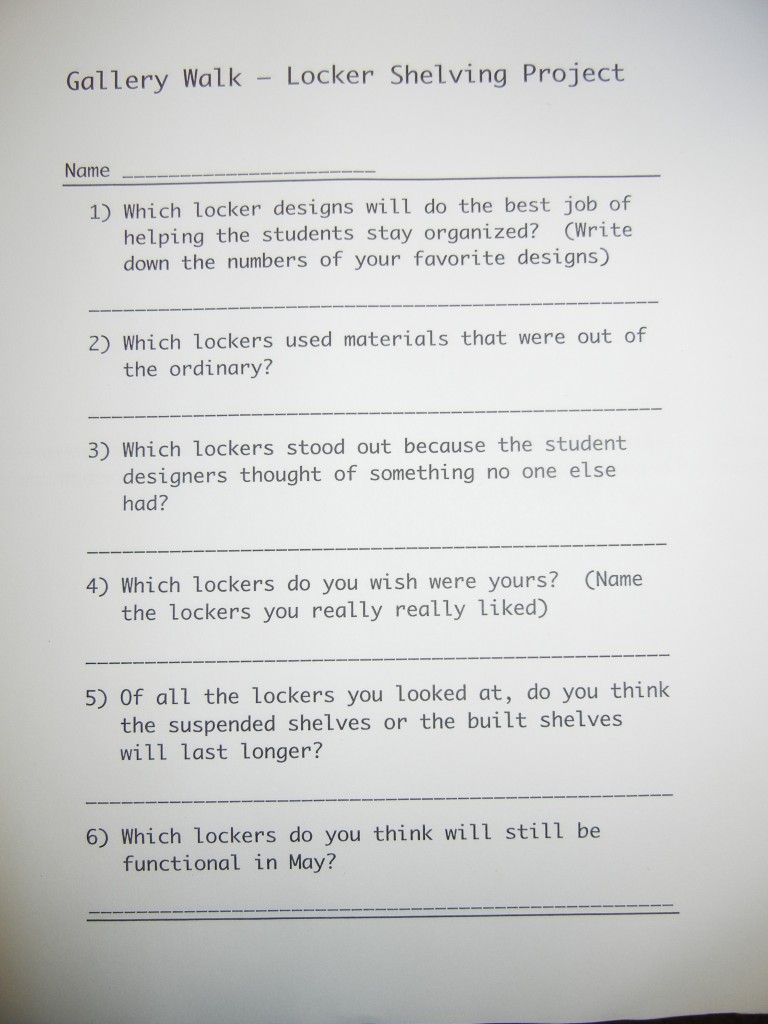
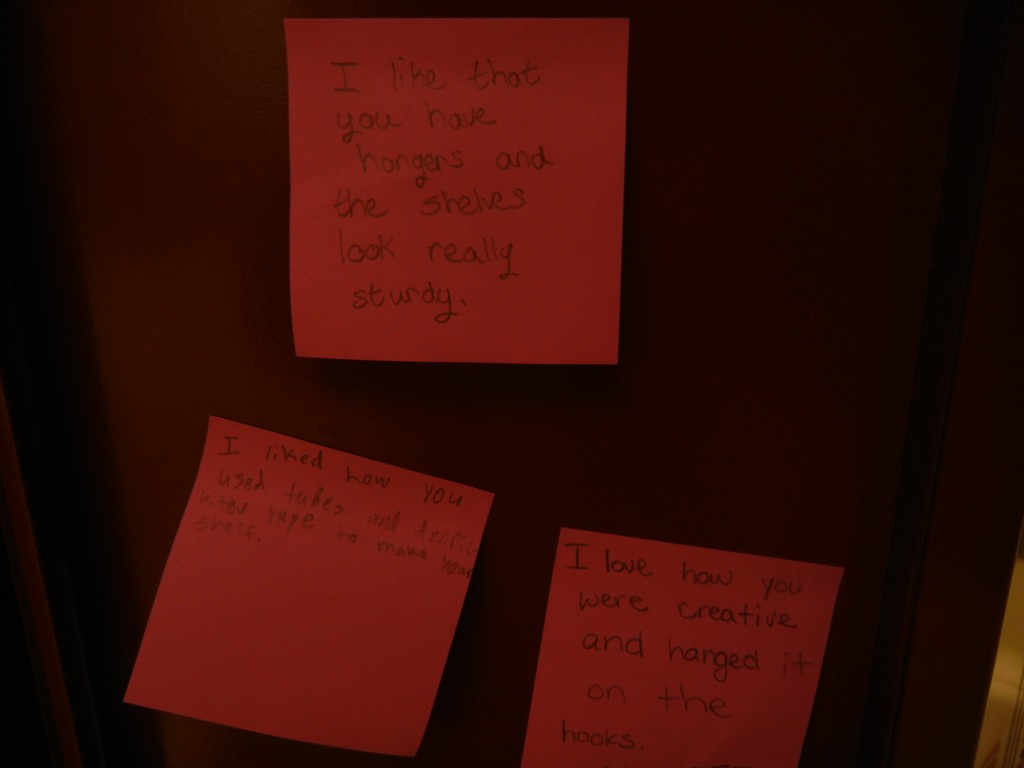
They were given four days to build/rebuild. Once the due date was past, there were two more days built-in for groups wanting to add finishing touches at their recess time. Then it was time to take a look and reflect on how well everyone did with this project. I gave every student a post-it note. They were to look at all of the locker shelving and write a compliment to the locker they felt was the most functional, fun, and likely to still be standing come May. Then they were to stick it to the inside of the locker they liked. It was a nice surprise for students to later open their locker only to see nice comments waiting for them.
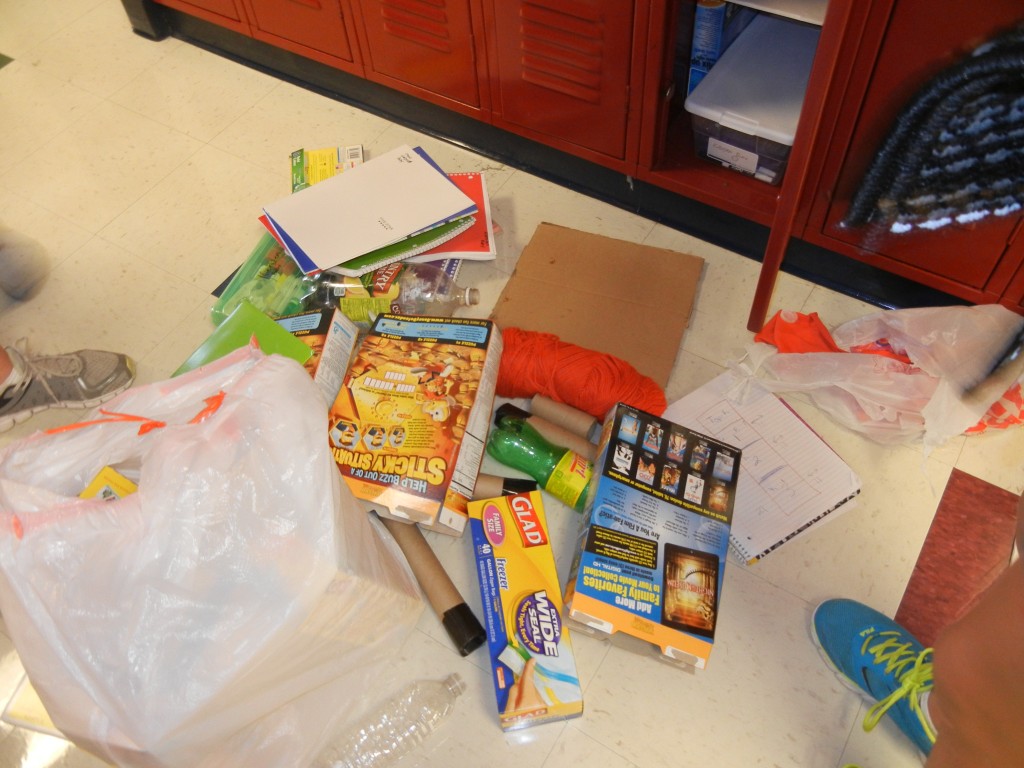
After a month and a half, we noticed that many students had developed a strange habit as they headed out to recess each day. Instead of setting their planners and folders in their locker, they were dropping them on the floor in front of their locker! It prompted me to take a peek at the conditions of the shelving.
Most of the shelves had fallen or partially fallen, making them unfit to hold much of anything. A few looked like a storage space for cardboard! As engineers, this gave us the perfect opportunity to rethink these shelves!
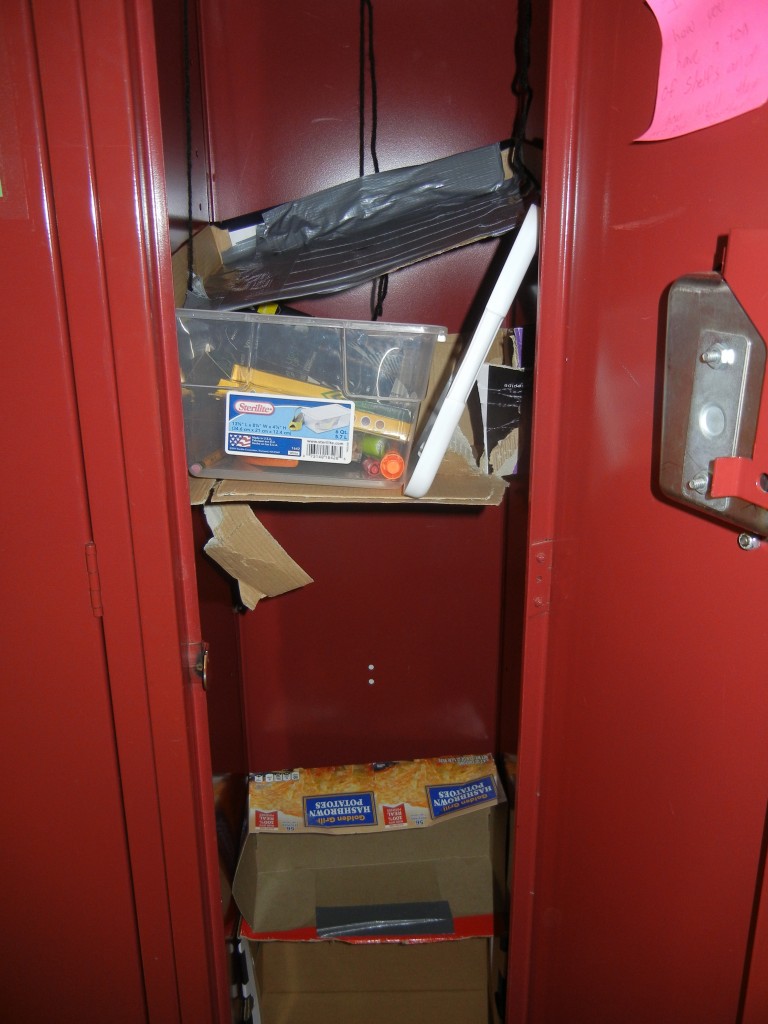
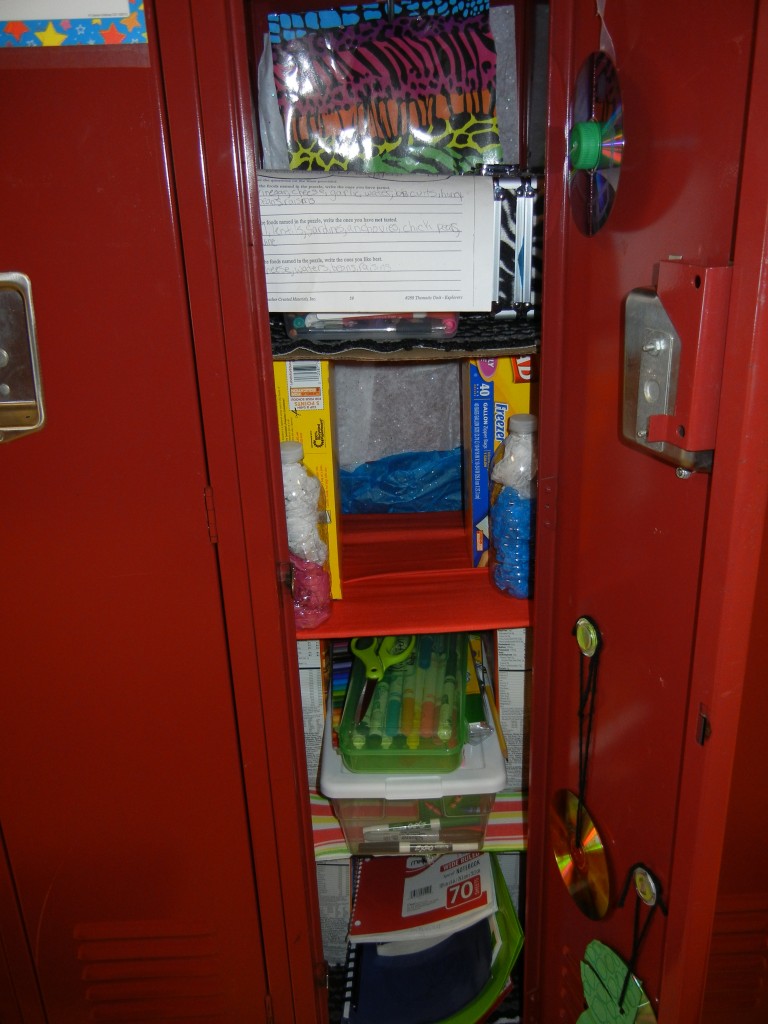
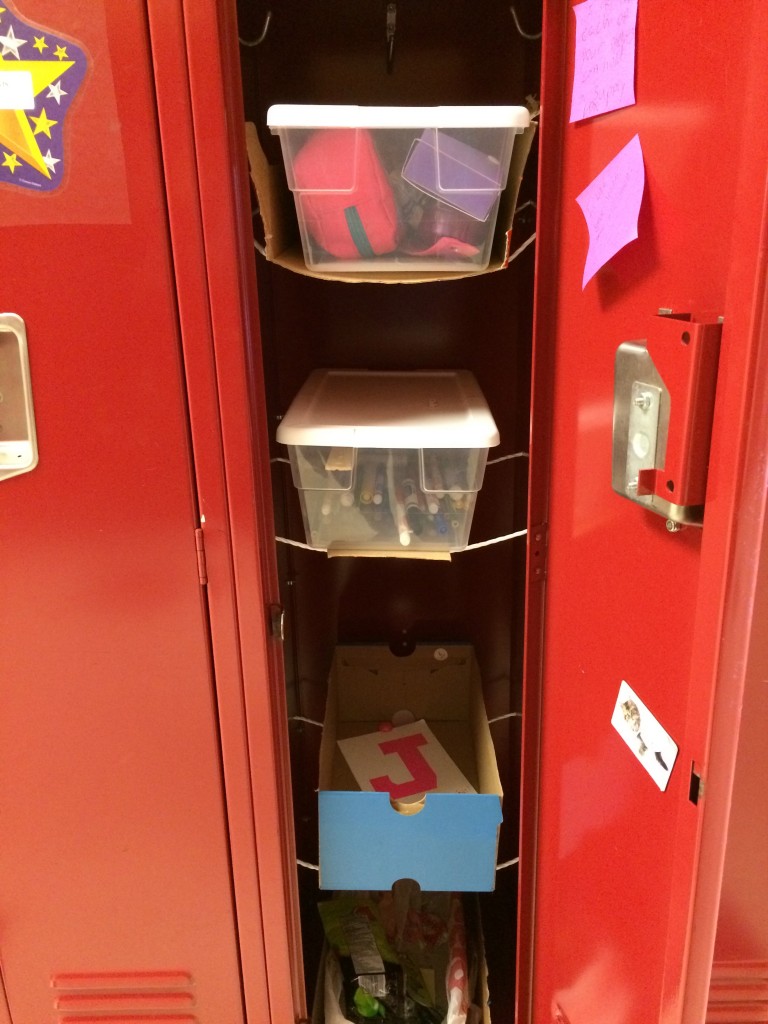
In the first picture, only the middle shelf was functional. The shelf above it was covered in duct tape, but unable to hold anything. The shelves below were also to weak to be used.

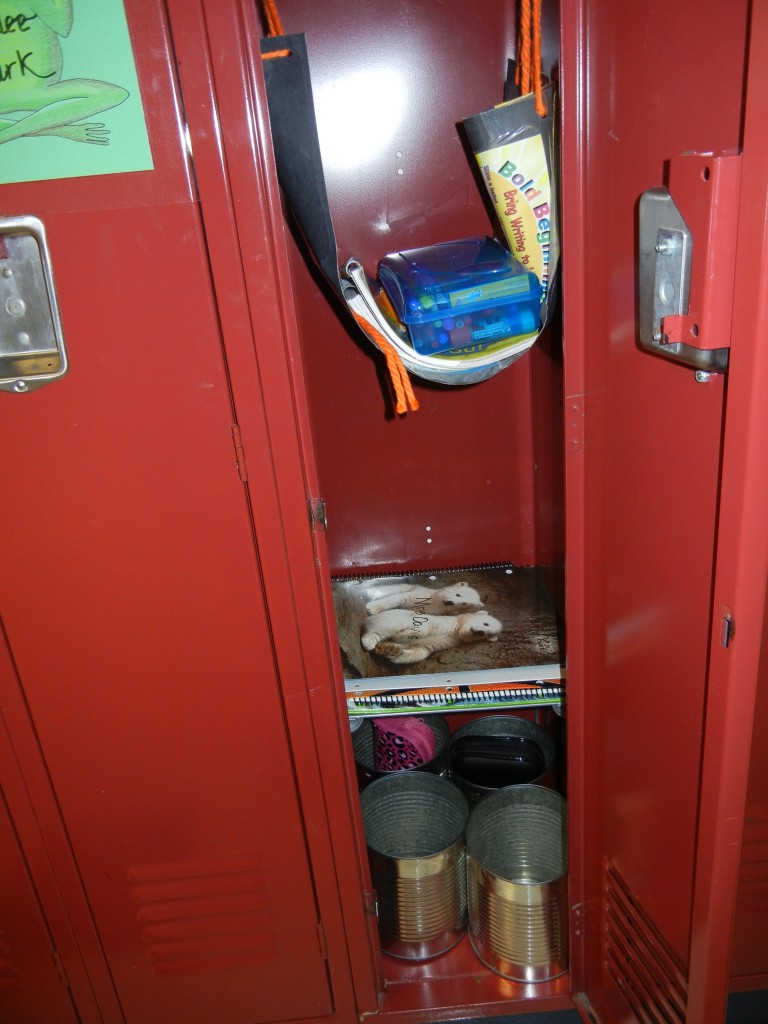
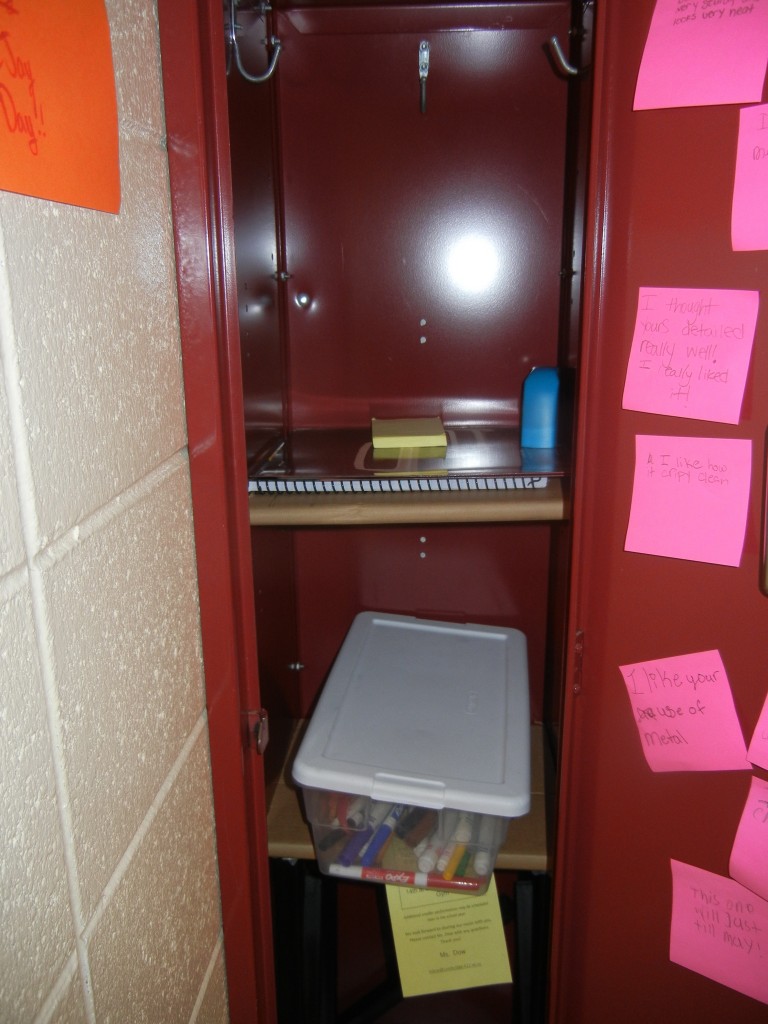
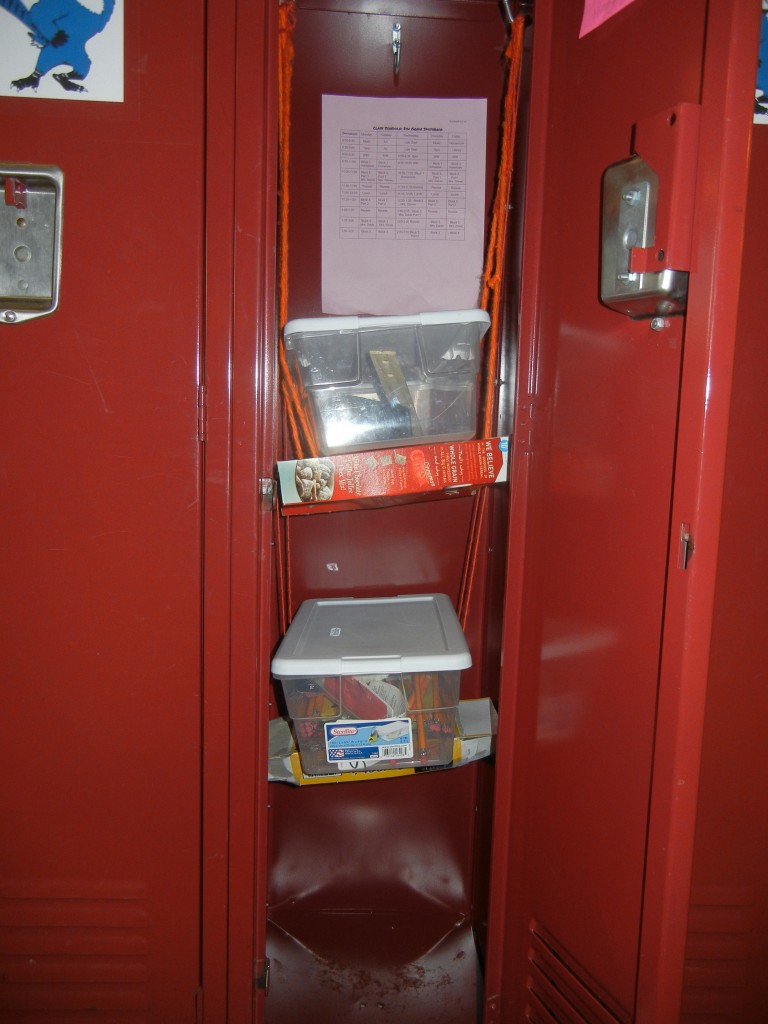
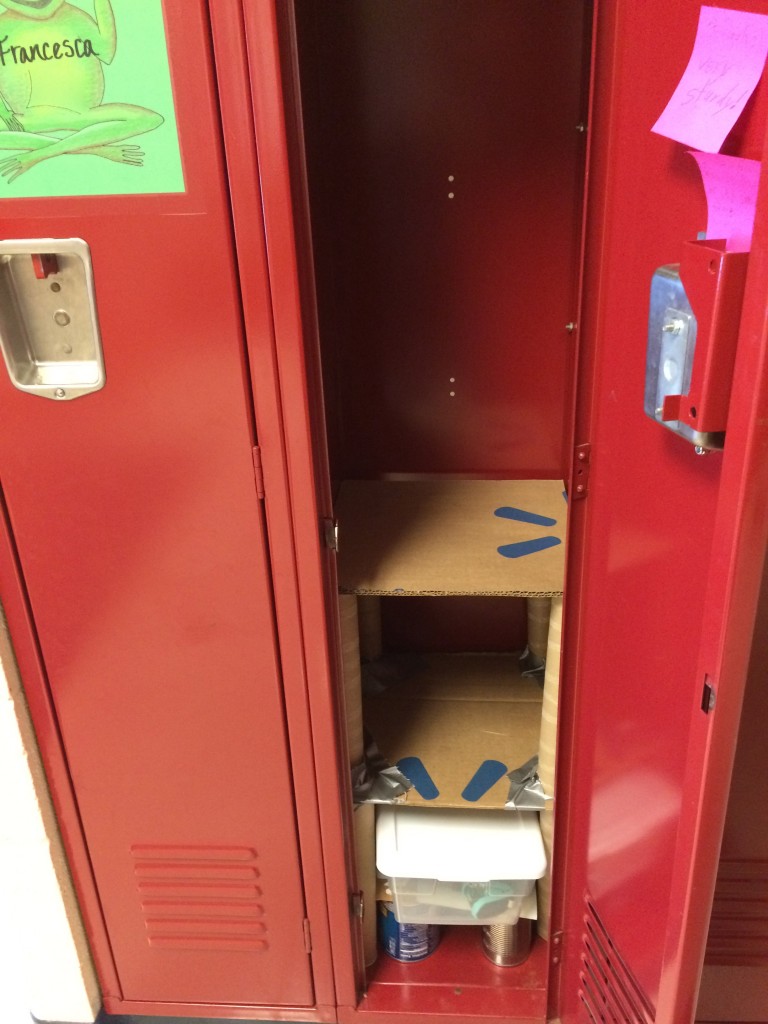
In the second picture, two wooden shelves were held up by rulers. That worked until something was set on the shelf. The more that was set on the shelf, the more the shelf slid downwards.
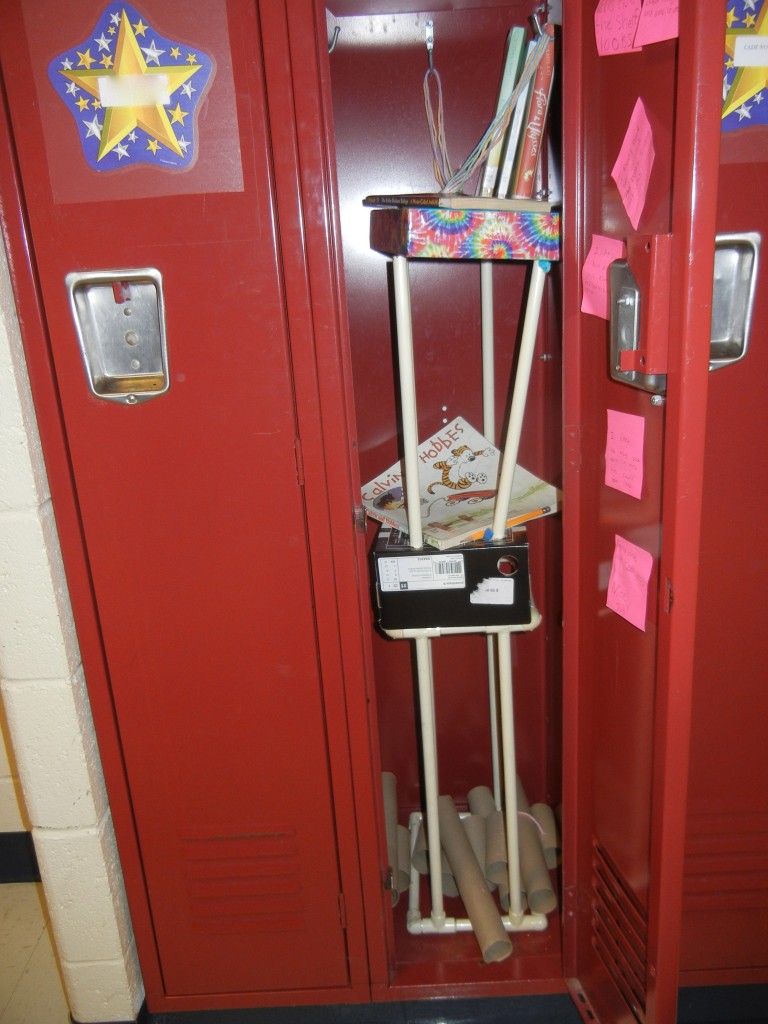
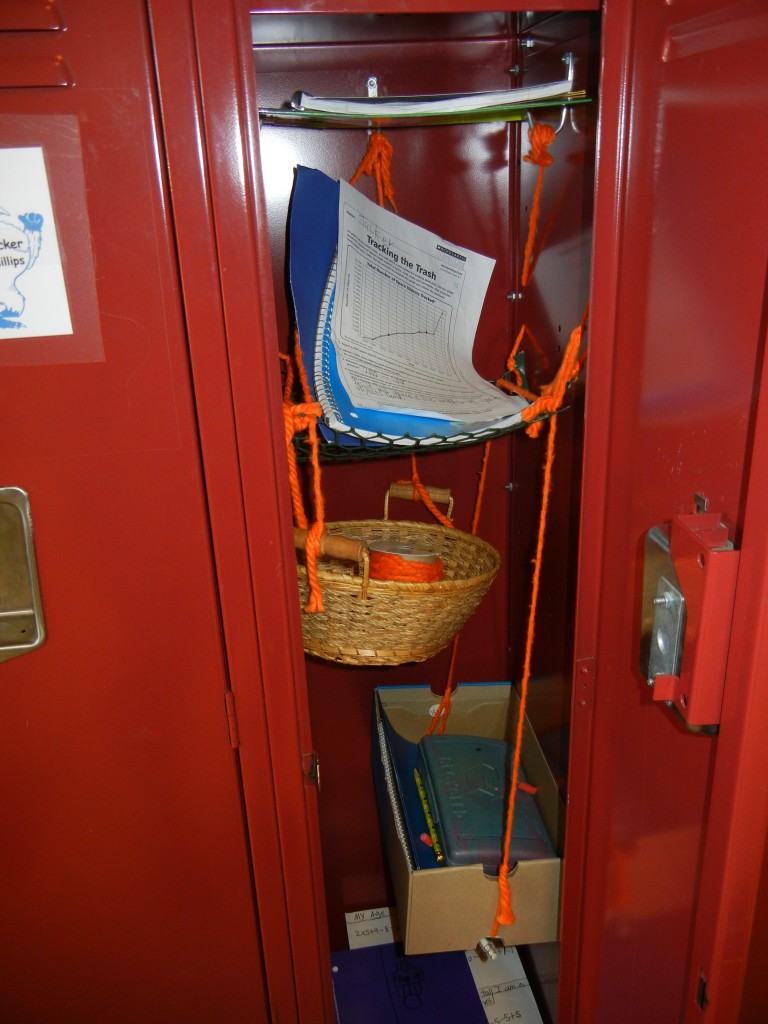
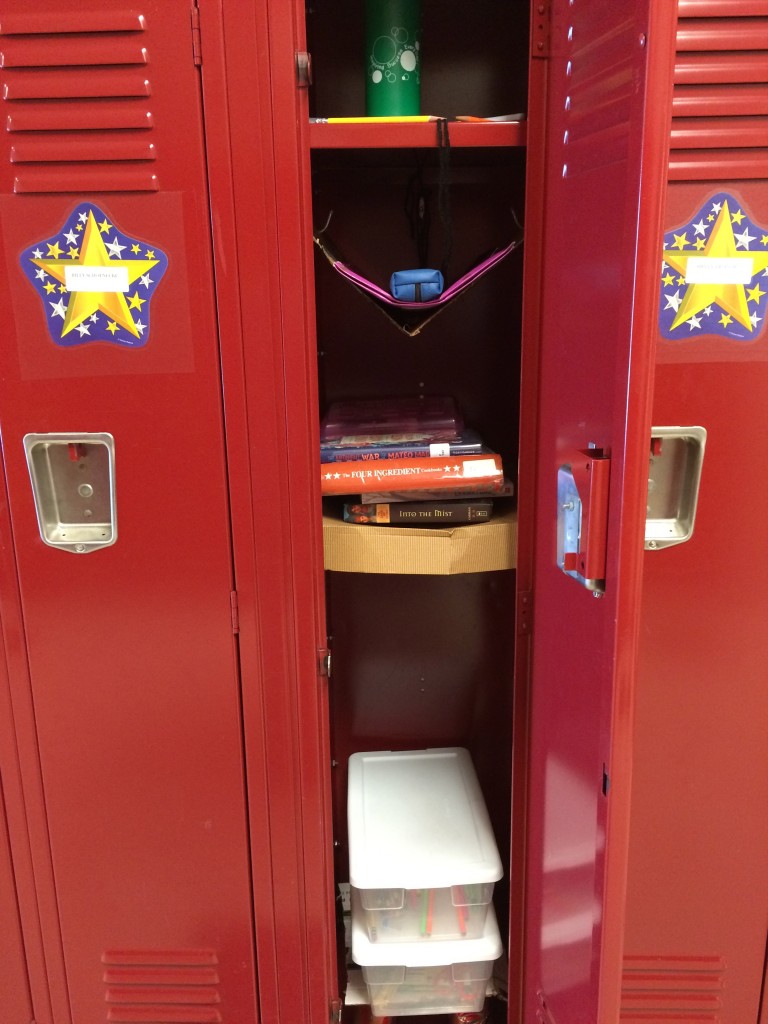
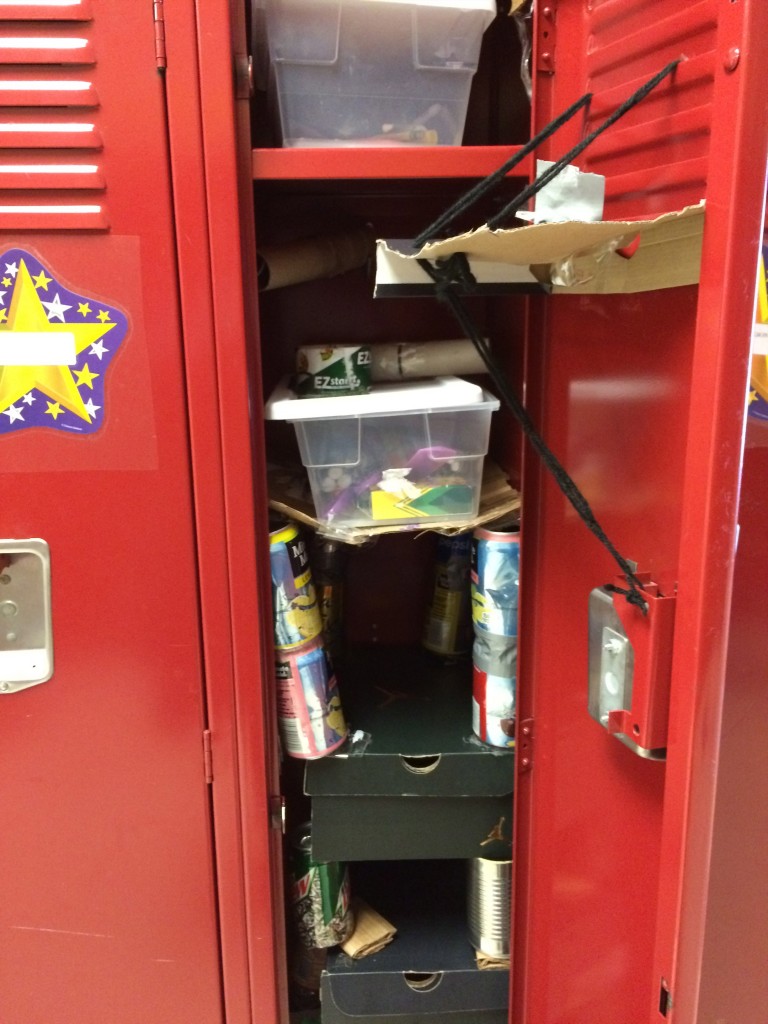
In the third picture, someone had built shelving using PVC pipes. I think the intention was that the structure would be set in the locker turned 90 degrees from its current position. Unfortunately it doesn’t fit in that way and as a result very little fits on the shelves (except for the top shelf).
As engineers, this gave us the perfect opportunity to rethink these shelves!We began with a discussion about the purpose of building shelves in the first place. The personal locker was needed to house outside clothing and backpacks, and the shared locker was to be used to house school supplies. In this way the school supplies would stay dry during rainy or snowy weather because it would be separated from the wet outer clothing.
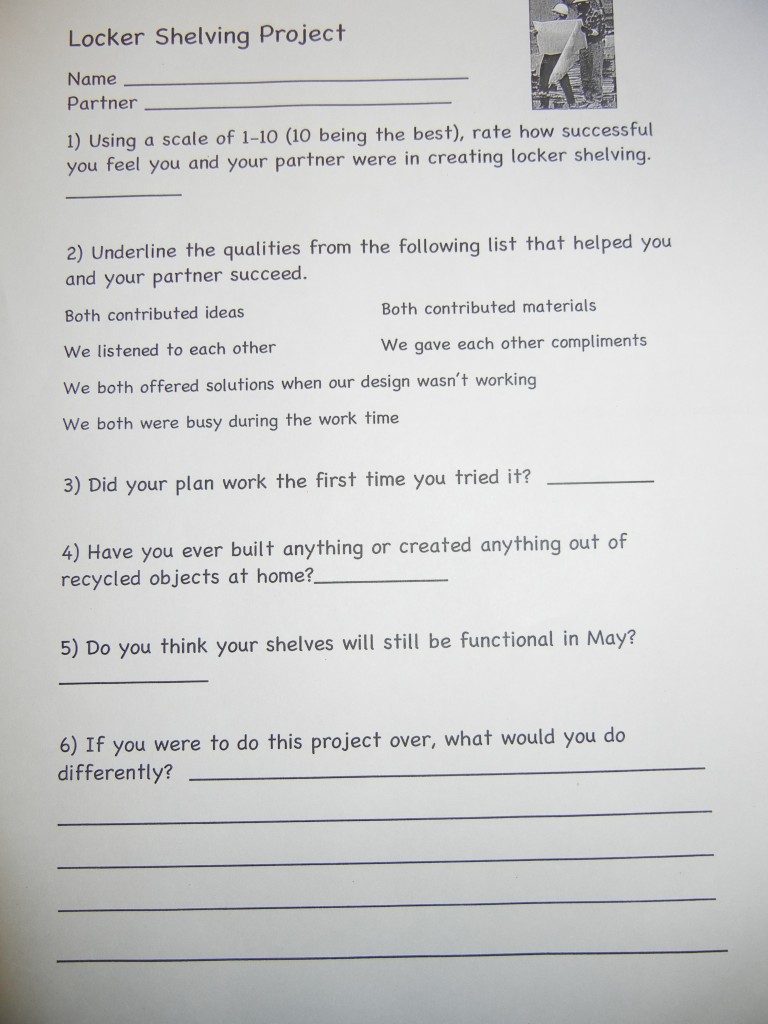
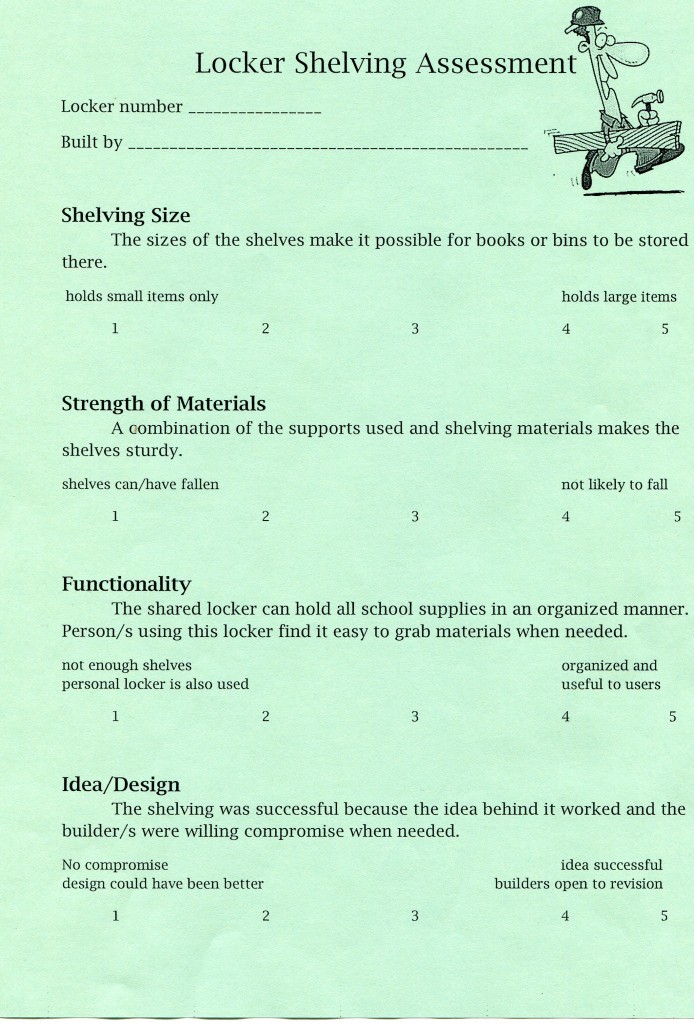
I created a rubric and shared it with the students so that they would be able to keep in mind the goals of this project.
The students had a second chance to make it work. What would they do differently?

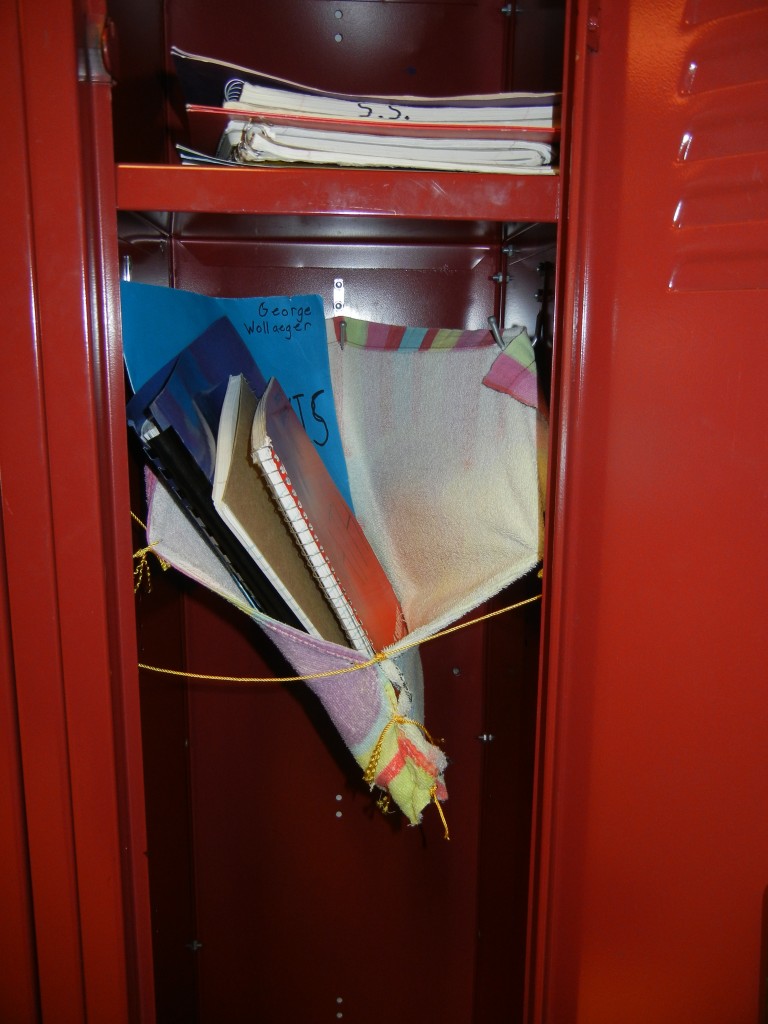
This first locker shows shelves that were once supported by rulers that didn’t hold much weight. Now the shelves are held in place by a network of string, and they are very sturdy! The rest of these show some designs that have been improved and are now quite functional! It is interesting that there are as many shelves built up from the bottom as there are suspended from above! I think some great improvements were made!


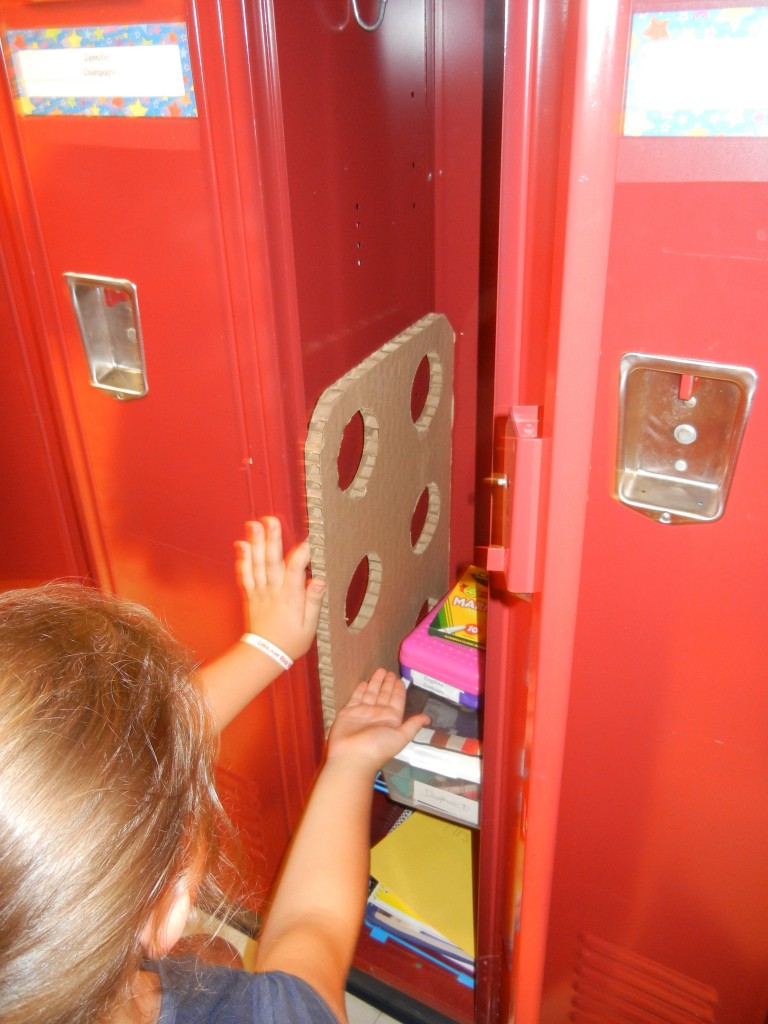
I loved the innovation in the last locker shown. See the extra shelf suspended on the inside of the door? This was a fascinating process to observe!